
How to install ExTiX to a USB Flash Drive – A new method
 NEWS 160128 about USB installations
As you may have noticed the install scripts I have used for a long time, namely extix-create-usb-drive.sh and extix-create-usb-drive-persistent.sh, doesn’t work anymore. I.e. persistence won’t be enabled. I have, however, today “discovered” that you can use the regular installation program (Ubiquity) to perform a USB Flash Drive installation. Do it like this.
1. Start up ExTiX from a DVD and log in as root.
2. Insert a USB stick of 8GB, 16GB or 32GB and format the stick as ext4. Use GParted (installed in ExTiX) for that so you can be absolutely sure that the stick is known as /dev/sdb or /dev/sdc or…
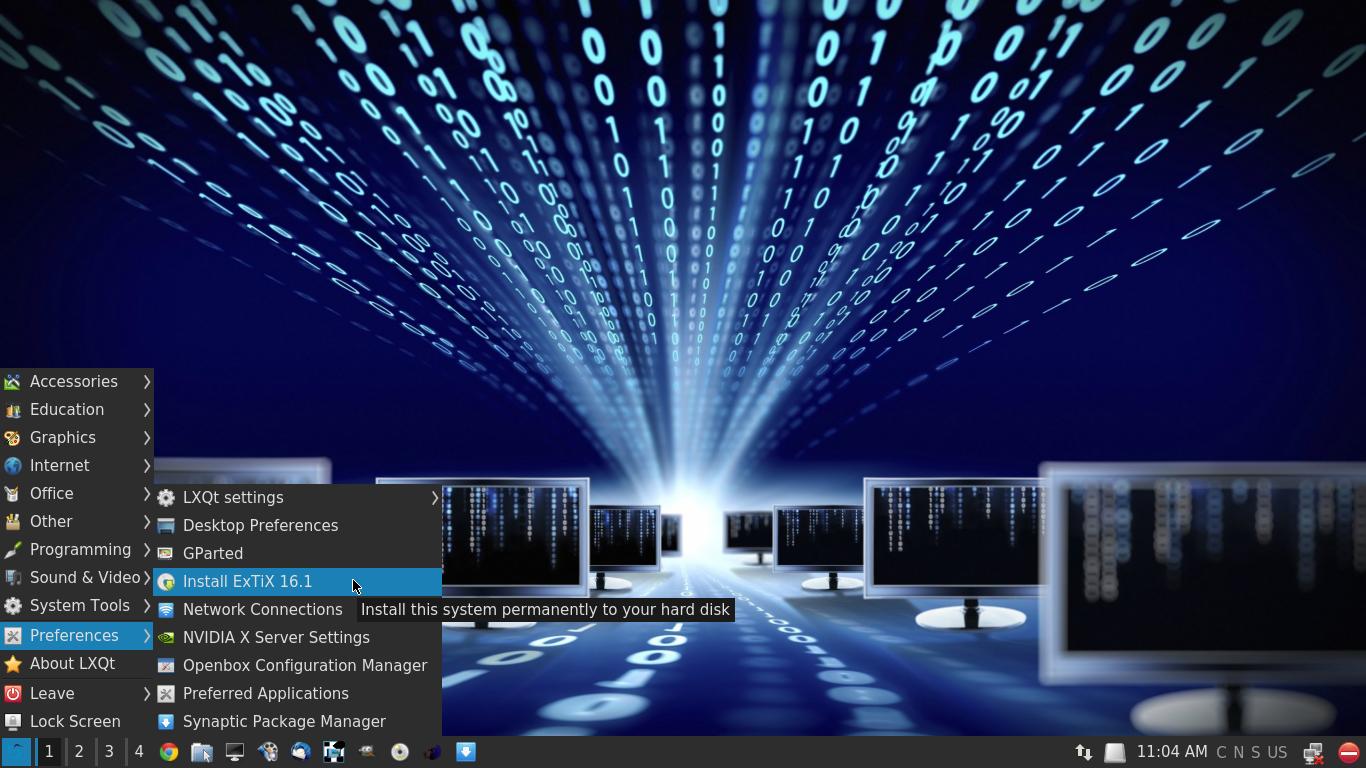
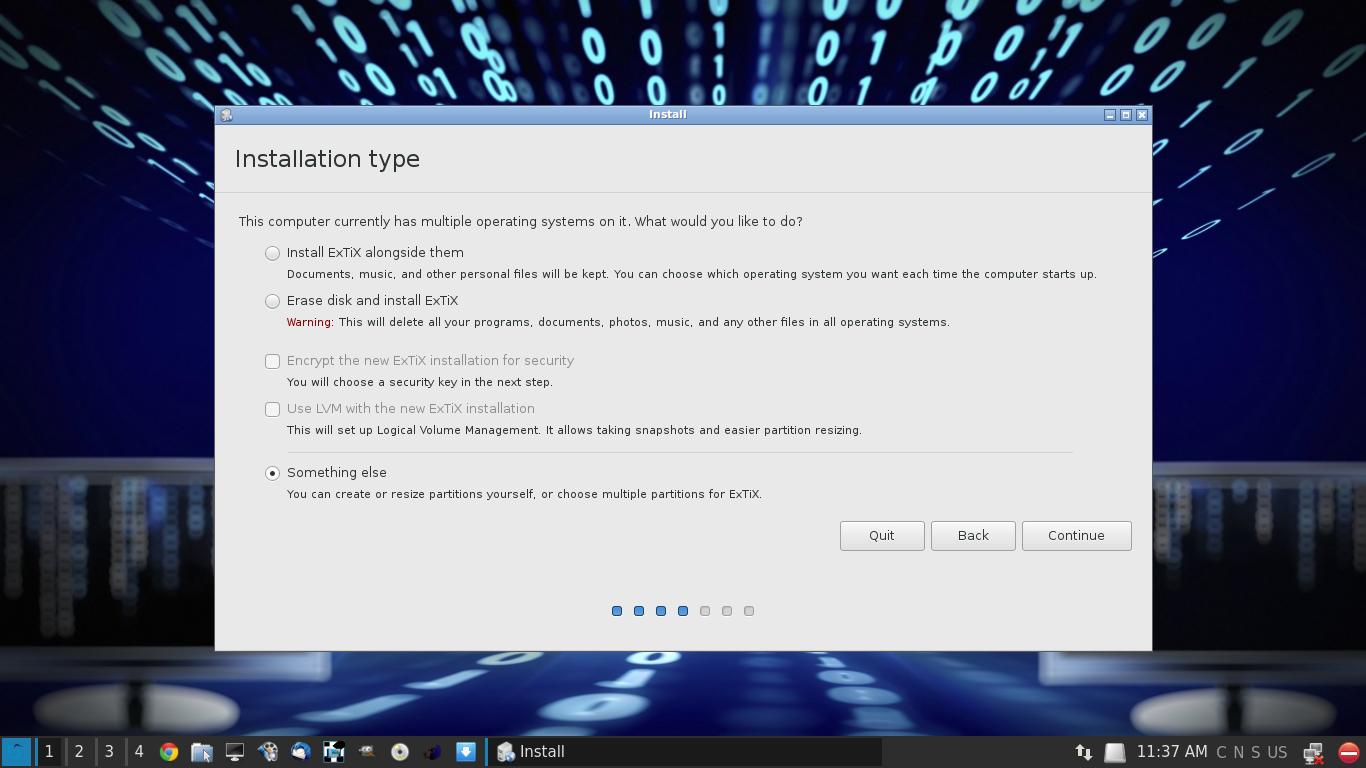
3. Start Ubiquity from Menu >> Preferences >> Install ExTiX . Be sure to choose the Installation type “Something else“.
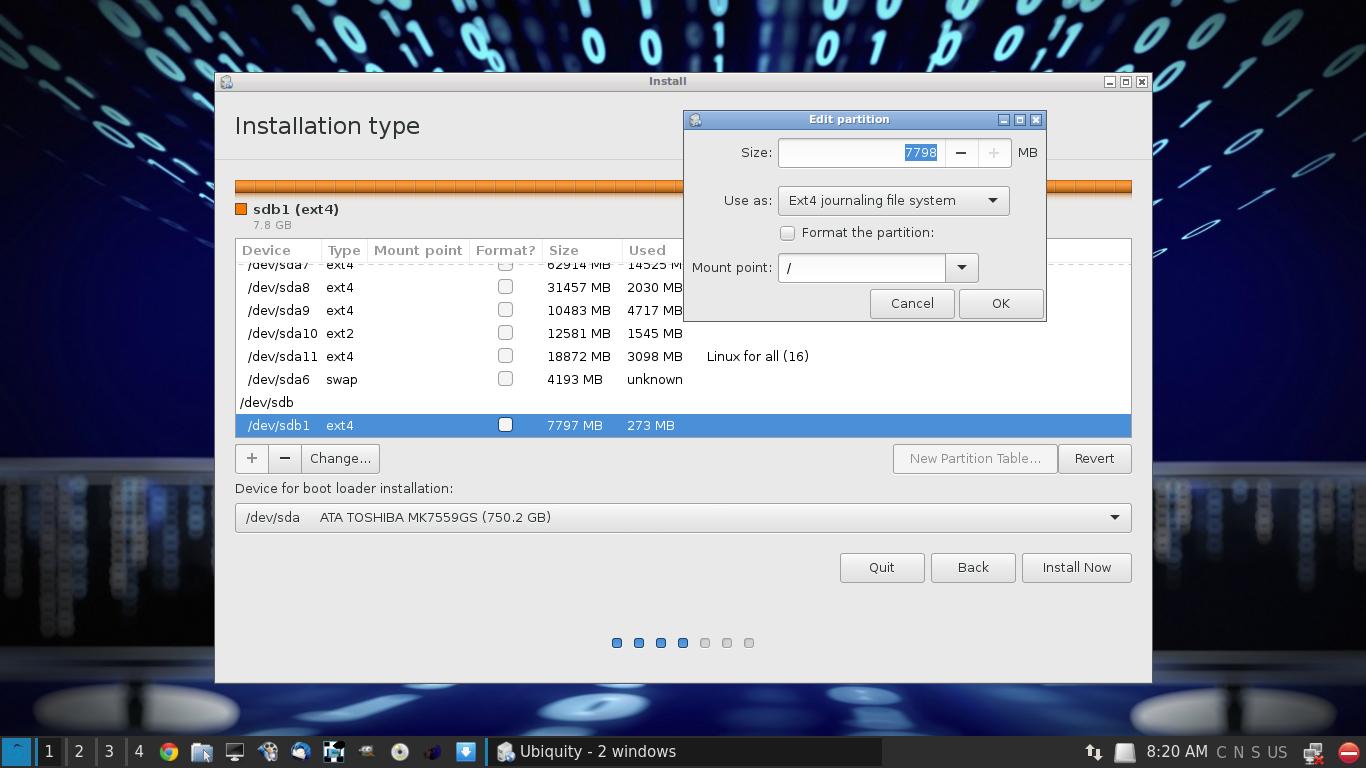
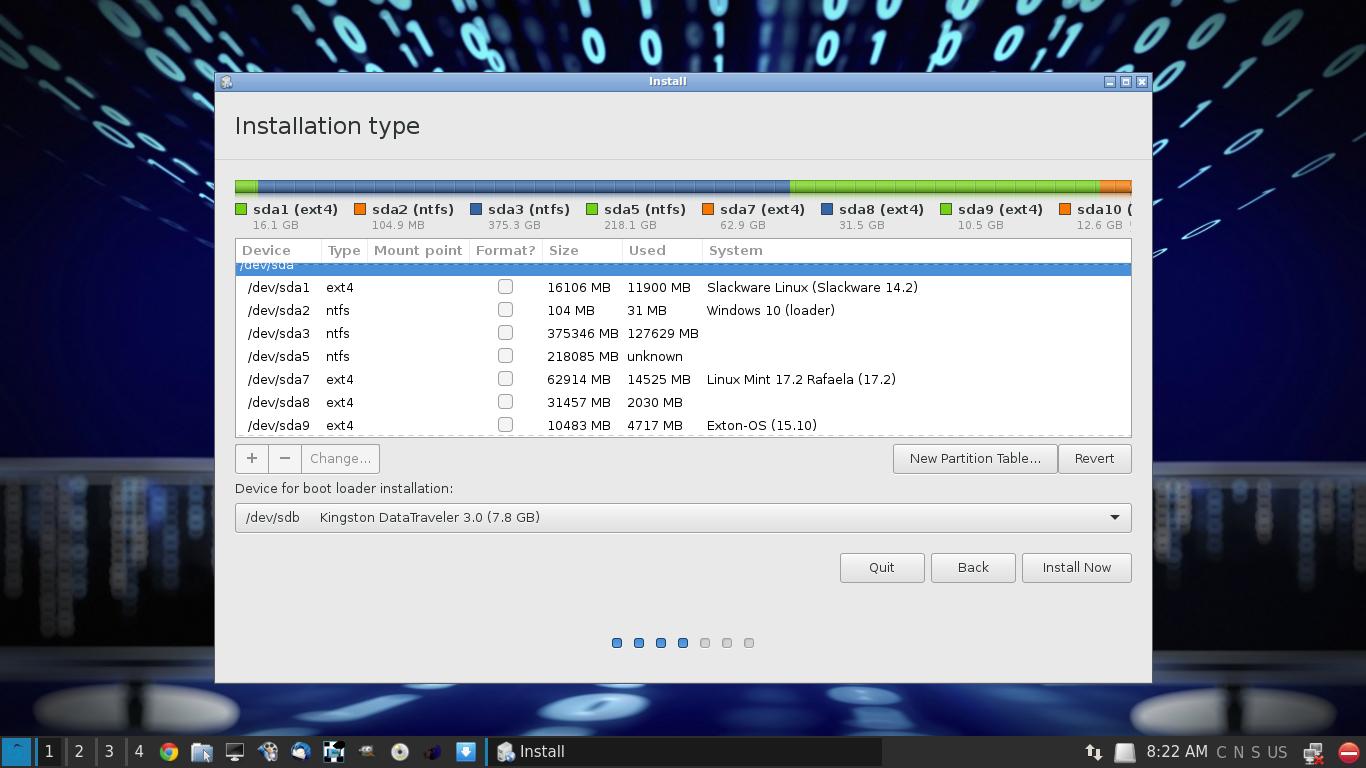
4. Then choose your USB stick (/dev/sdb1, /dev/sdc1 or…) to install to and set the mount point to /. No need to format the stick again. Be sure not to choose /dev/sda as “Device for boot loader installation”. The correct place is /dev/sdb, /dev/sdc or…I.e. on the stick.
5. Again be sure to install the boot loader (Grub2) to the USB stick (Kingston DataTraveler in my example) as this screenshot show.
6. Start the installation and follow the instructions.
BIOS settings
To be able to run your computer from the USB stick you’ll have to change the BIOS settings. For example from UEFI to Legacy boot. View this screenshot from one of my computers. As you can see I’m using SanDisk Cruzer Blade.
That’s it! Now you can use ExTiX in the same way as if the system was installed to a hard drive.