
ExTiX 17.4 – “The Ultimate Linux System” – with LXQt 0.11.1, Nvidia 381.09 and kernel 4.10.0-19-exton – Build 170418
 I have made a new version of ExTiX – The Ultimate Linux System. I call it ExTiX 17.4 LXQt Live DVD. (The previous version was 17.2 from 170320).
ABOUT
ExTiX 17.4 LXQt DVD 64 bit is based on Debian 8.7 Jessie/Debian 9 Stretch and Ubuntu 17.04 Zesty Zapus, released 170412. The original system includes the Desktop Environment Unity (Ubuntu). After removing Unity I have installed LXQt 0.11.1. LXQt is the Qt port and the upcoming version of LXDE, the Lightweight Desktop Environment. It is the product of the merge between the LXDE-Qt and the Razor-qt projects: A lightweight, modular, blazing-fast and user-friendly desktop environment.
The system language is ENGLISH.
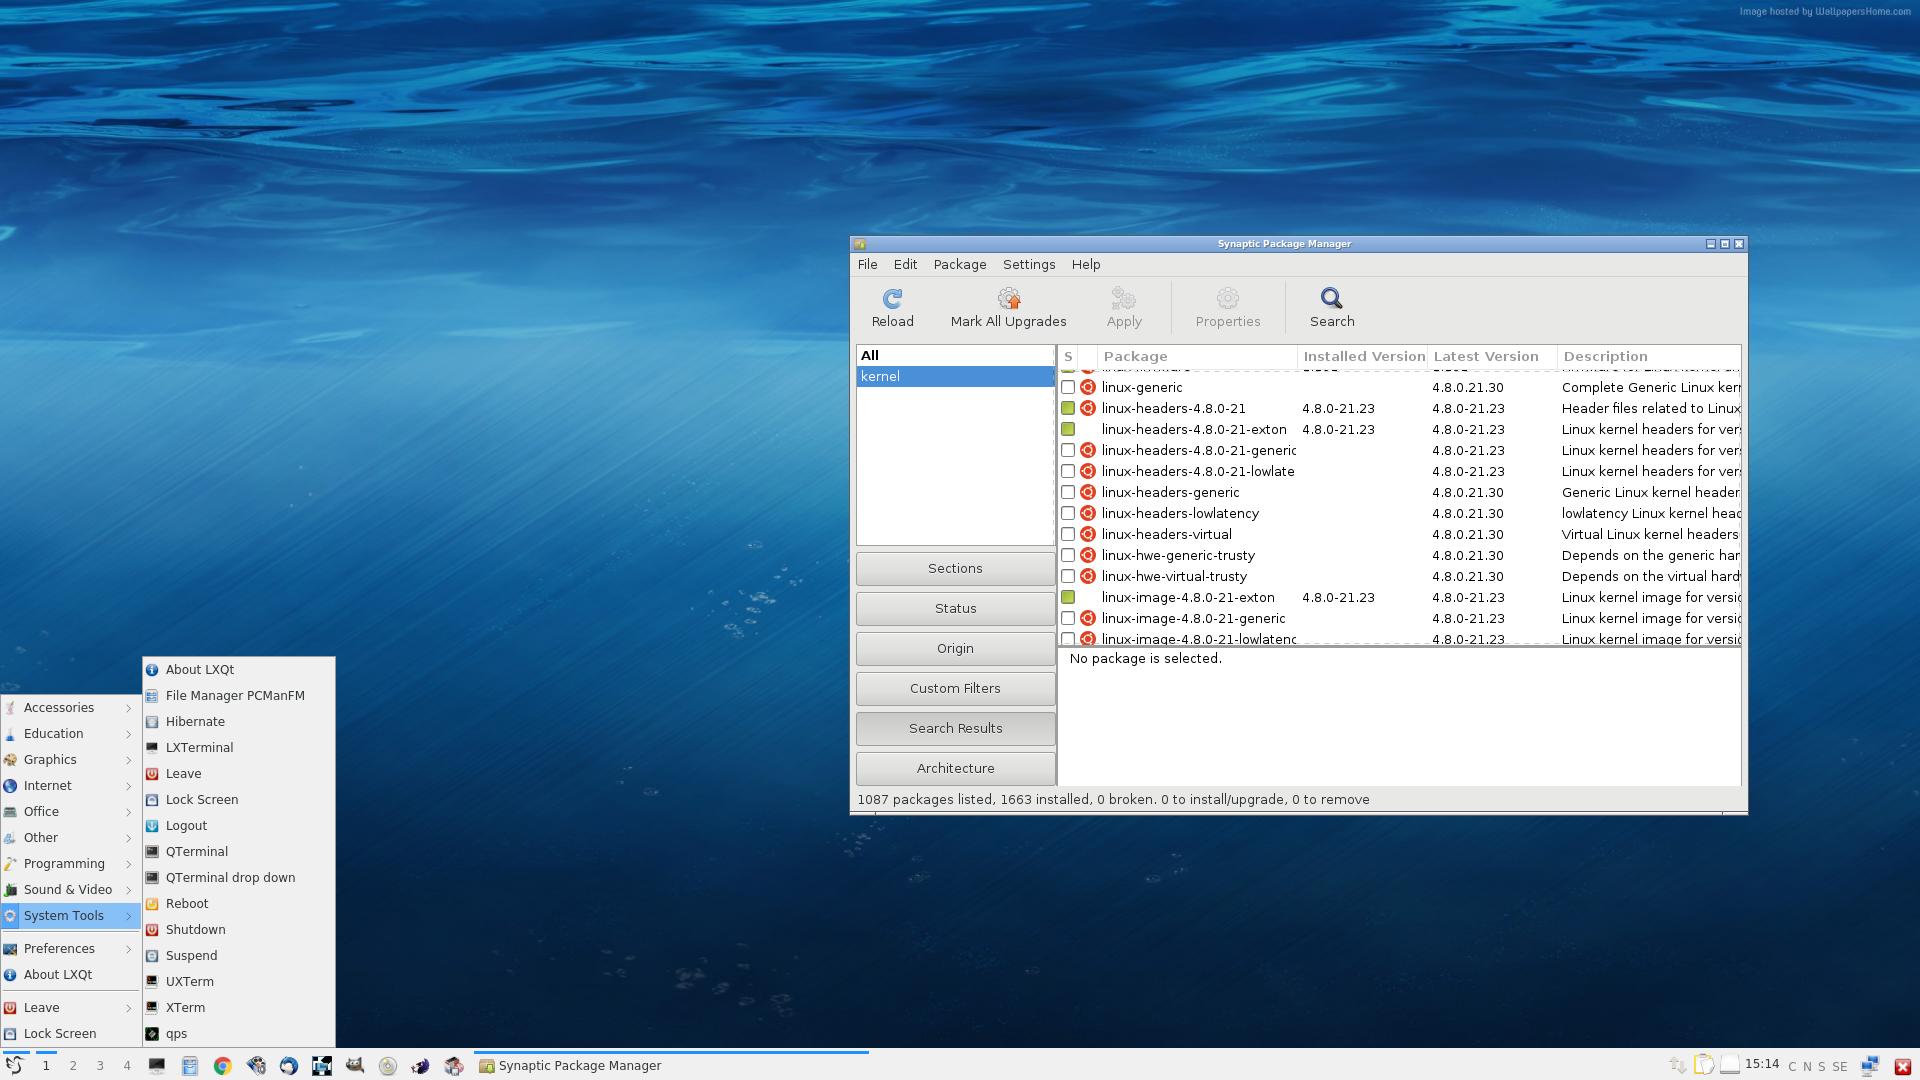
Used KERNEL
My special kernel 4.10.0-19-exton corresponding Kernel.org’s stable kernel 4.10.8.
NEWS ABOUT ExTiX 17.4 build 170418 with LXQt Desktop environment
1. ExTiX LXQt is based on Ubuntu 17.04 Zesty Zapus. LXQt 0.11.1 is used as Desktop environment. All packages have been updated to the latest version by 170418. Kernel 4.10.0-19-exton is used. (Kernel.org‘s kernel 4.10.8).
2. Google Chrome is used as Web Browser, which makes it possible to watch Netflix movies. It is normally not possible in Firefox (in Linux).
3. I have also installed BlueGriffon 2.3.1 Web Editor. BlueGriffon is a new WYSIWYG content editor for the World Wide Web. Powered by Gecko, the rendering engine of Firefox, it’s a modern and robust solution to edit Web pages in conformance to the latest Web Standards. Only to be compared with Dreamweaver. (In my opinion).
4. Other included important/useful packages are: LibreOffice, Thunderbird, GParted, Brasero, SMPlayer, GCC and other compilation tools so that you can install packages from source. Furthermore “all” multimedia codecs. Everything the average Linux user could wish for I would say.
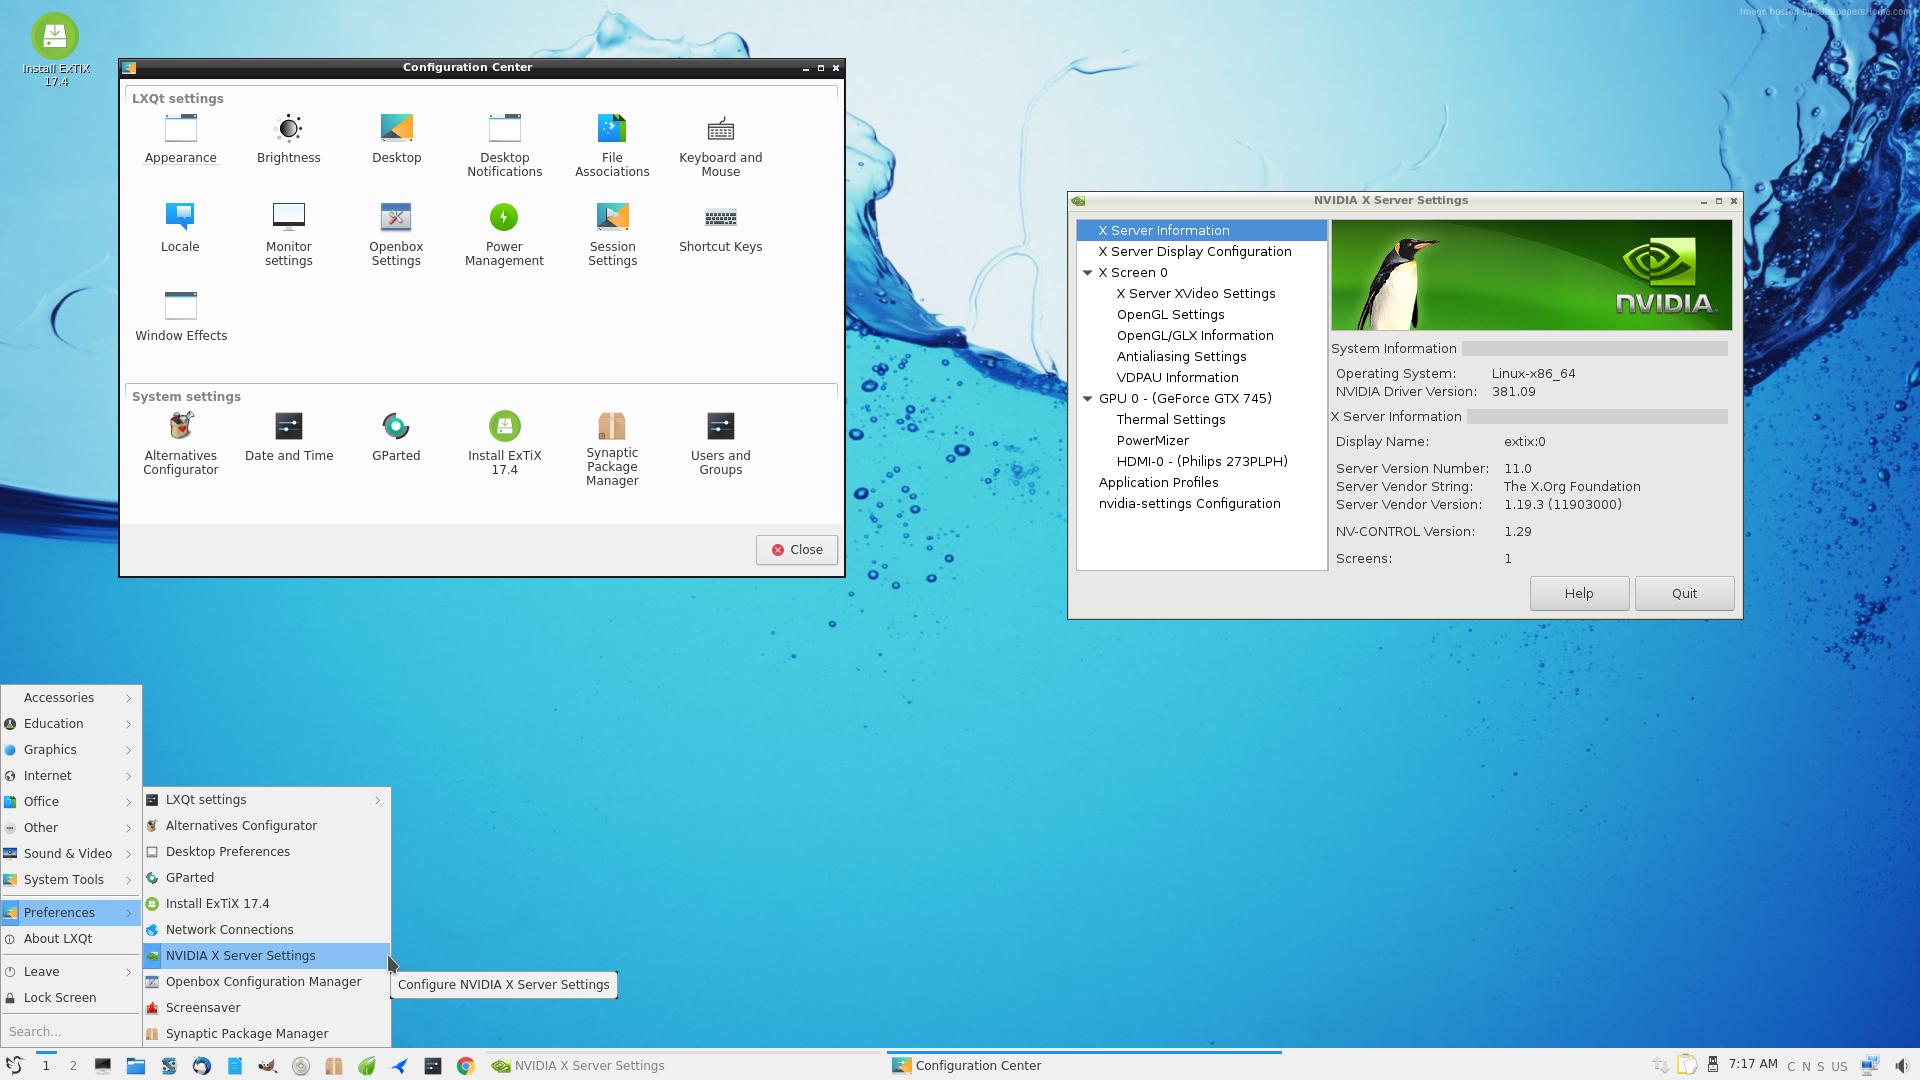
5. I have also installed Nvidia’s proprietary graphics driver 381.09 in this new version ExTiX LXQt. It has support for the following GPUs: Vulkan, GeForce GTX 1080 Ti,TITAN Xp, Quadro GP100, Quadro P4000, Quadro P2000, Quadro K1200, Quadro M6000, GeForce 920M, GeForce 930A, GeForce 930M, GeForce 940M, GeForce GTX 950M, GeForce GTX 960M and GeForce GTX TITAN X. This driver will be used automatically if your card is supported (if you start up ExTiX in compatibility mode).
WHAT’S SO SPECIAL about ExTiX and especially the new version from 170418?
1. The ExTiX ISO’s are ISO-hybrids, which means that they can very easily be transferred (copied) to a USB pen drive. You can even run ExTiX from the USB stick and save all your system changes on the stick. I.e. you will enjoy persistence!
2. Another big improvement is that both ExTiX versions can run from RAM. Use Boot alternative 3 (Copy to RAM). When the system has booted up you can remove the disc (DVD) or USB stick. You’ll need at least 2 GB RAM to run ExTiX that way. Running from RAM means that the system will run faster than from DVD or USB stick. Everything will be superfast I would say!
3. All packages have been upgraded to the latest version by 170418.
4. I’ve replaced kernel 4.10.0-14-exton with kernel 4.10.0-19-exton (Kernel.org‘s stable kernel 4.10.8).
5. The installation program Ubiquity (live installer) is now working as intended. I.e. a new user (your user) will be created during the installation process.
LOG IN to LXQt
You can run ExTiX live as root (superuser) or as the ordinary user extix. Log in from Slim‘s Login Manager as root with password root in the LXQt version or as extix with no password. During a hard drive installation you will get the opportunity to create your own normal user. When logged in as extix you can use Sudo to become root. (Command: sudo su).
Install ExTiX to hard drive
Just start the install program Ubiquity from the menu (Install ExTiX 17.4). Or click on the Desktop icon Install ExTiX 17.4 when logged in as the ordinary user extix. Then just follow the instructions.
Using the Nvidia proprietary driver
If you want (and can) use Nvidia’s proprietary graphics driver 381.09 you shall boot up ExTiX using boot alternative 4 (Start in compatibility mode). Then open up a terminal and run sudo nvidia-xconfig. Log out. If you can’t reach X/LXQt then your card isn’t supported. Delete xorg.conf with sudo rm /etc/X11/xorg.conf and run the command startx. Or reboot your computer. After a hard drive installation of ExTiX the open source driver Nouveau will be used, since it’s “built in” in the kernel. If you want and can use Nvidia’s proprietary graphics driver 381.09 you’ll have to run the command sudo nvidia-xconfig and restart your computer. You’ll also have to change /boot/grub/grub.cfg as this example shows.
menuentry ‘ExTiX 17.4 :: GRUB :: (sda8)’ –class ubuntu –class gnu-linux –class gnu –class os $menuentry_id_option ‘gnulinux-simple-e150990b-5ae8-4f35-8d71-8118e682b5c7’ {
insmod gzio
insmod part_gpt
insmod ext2
set root=’hd0,gpt8′
if [ x$feature_platform_search_hint = xy ]; then
search –no-floppy –fs-uuid –set=root –hint-bios=hd0,gpt8 –hint-efi=hd0,gpt8 –hint-baremetal=ahci0,gpt8 e150990b-5ae8-4f35-8d71-8118e682b5c7
else
search –no-floppy –fs-uuid –set=root e150990b-5ae8-4f35-8d71-8118e682b5c7
fi
linux /boot/vmlinuz-4.10.0-19-exton root=UUID=e150990b-5ae8-4f35-8d71-8118e682b5c7 rw nomodeset
initrd /boot/initrd.img-4.10.0-19-exton
}
USB installation
Read my instruction.
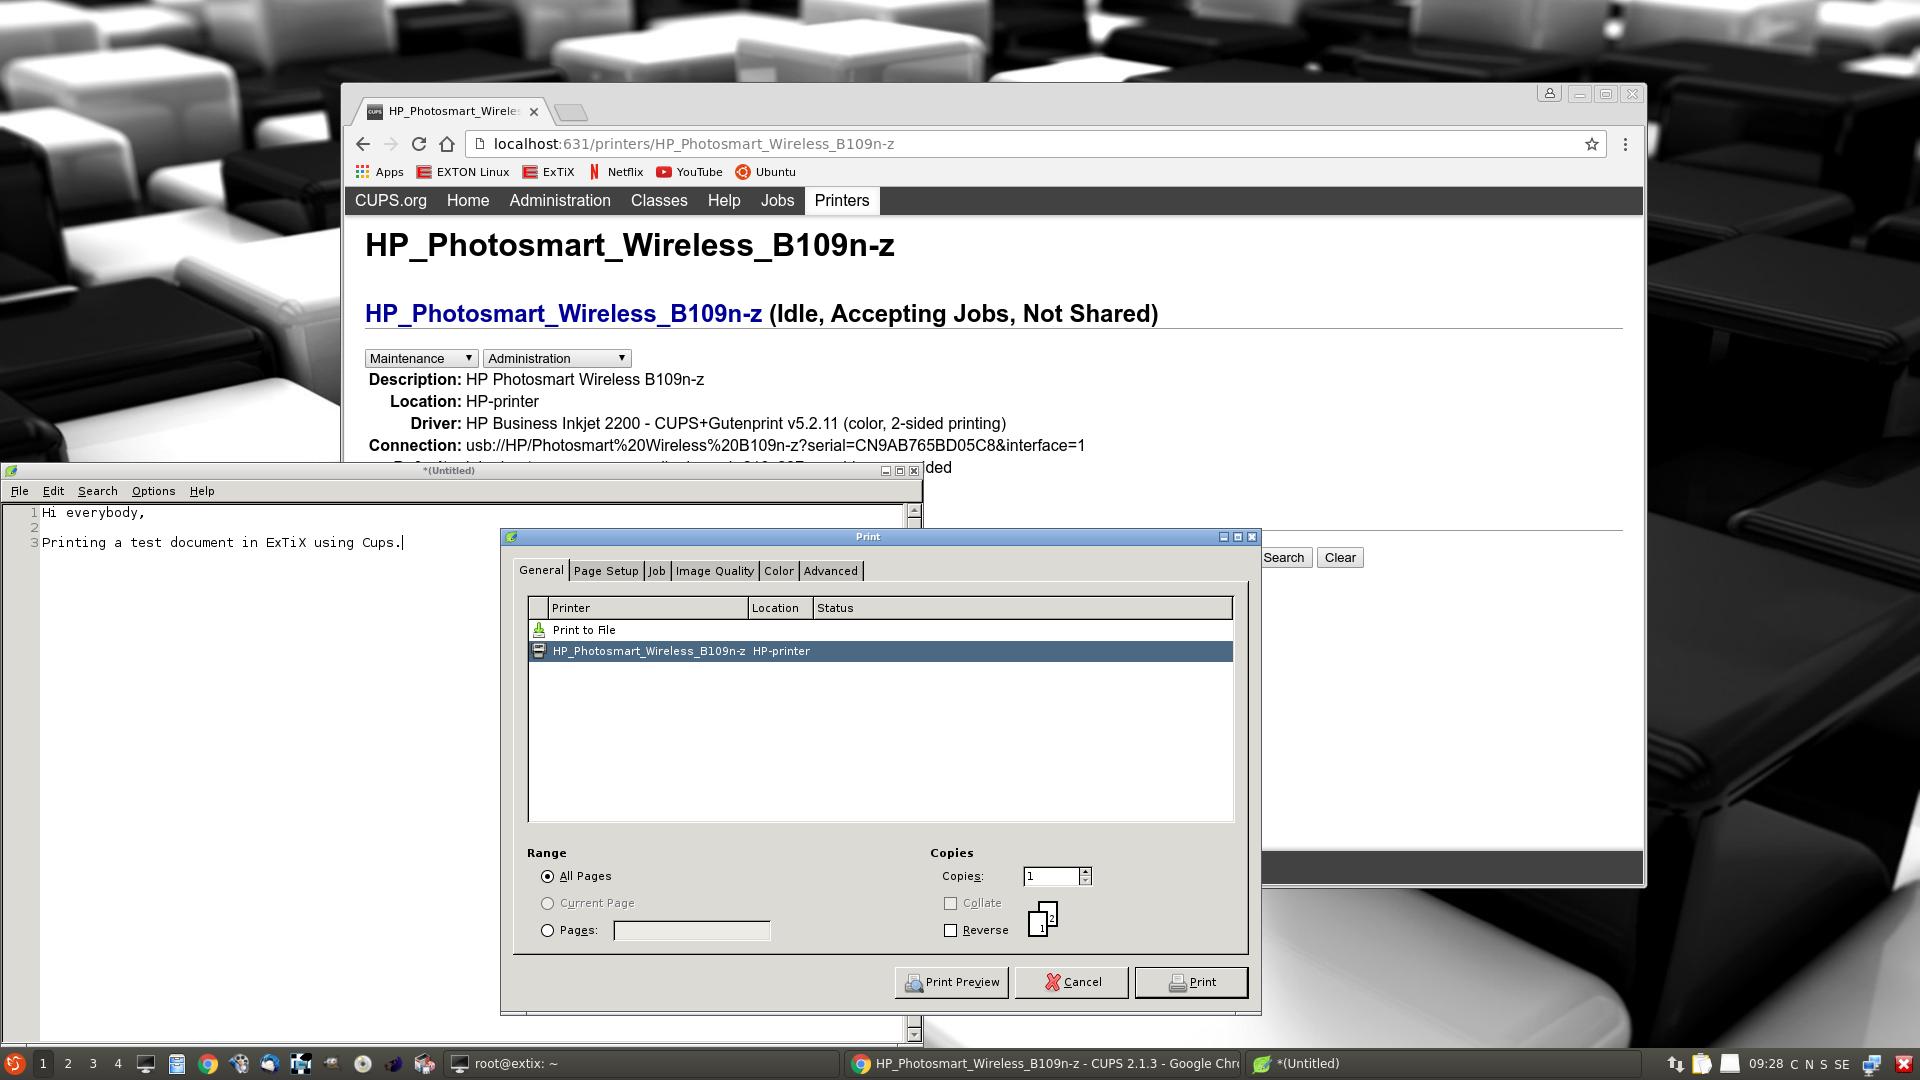
Printing using Cups
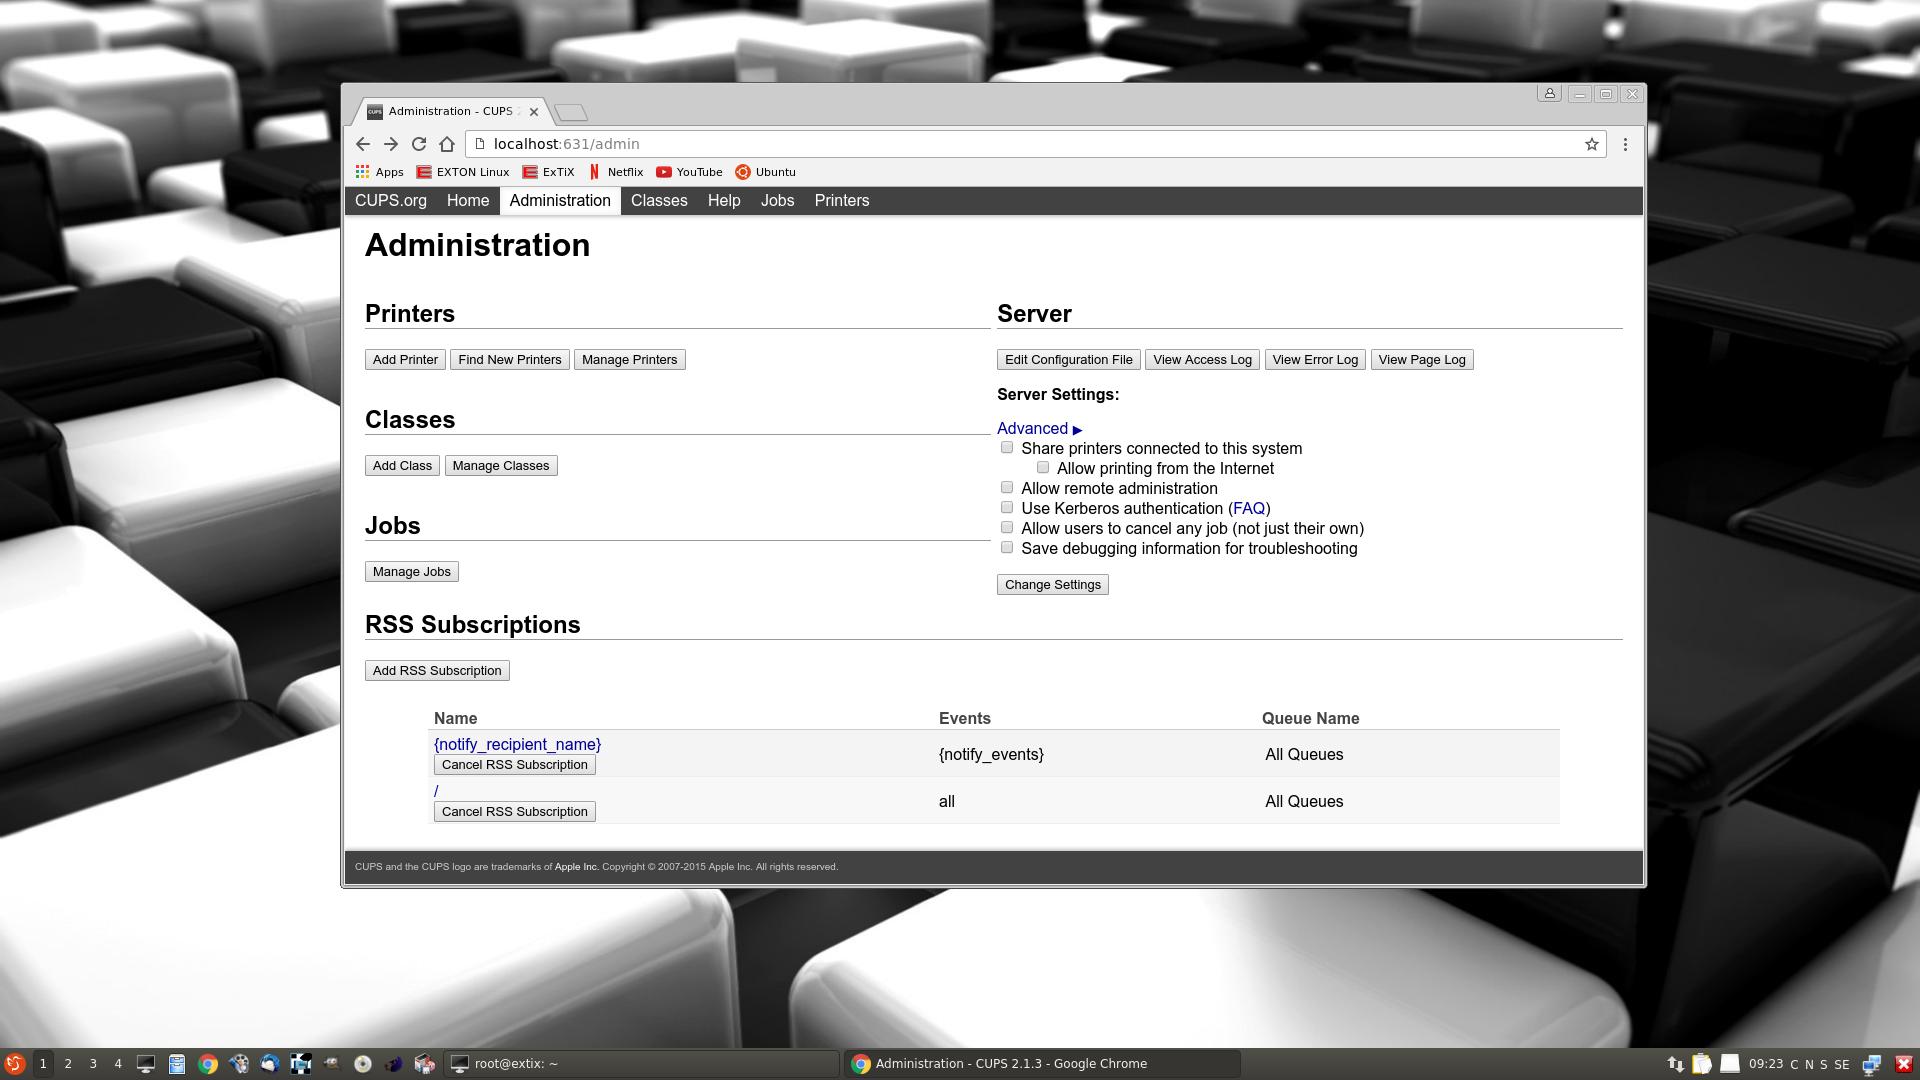
It’s really very simple to install a printer in ExTiX/Ubuntu. First you have to install Cups (Common UNIX Printing System). Do it in Synaptic or use the command sudo apt-get install cups. Then open up Google Chrome and go to http://localhost:631/admin. See the following five screenshots showing when I added my local printer HP Photosmart Wireless in ExTiX LXQt.
1. Cups start page
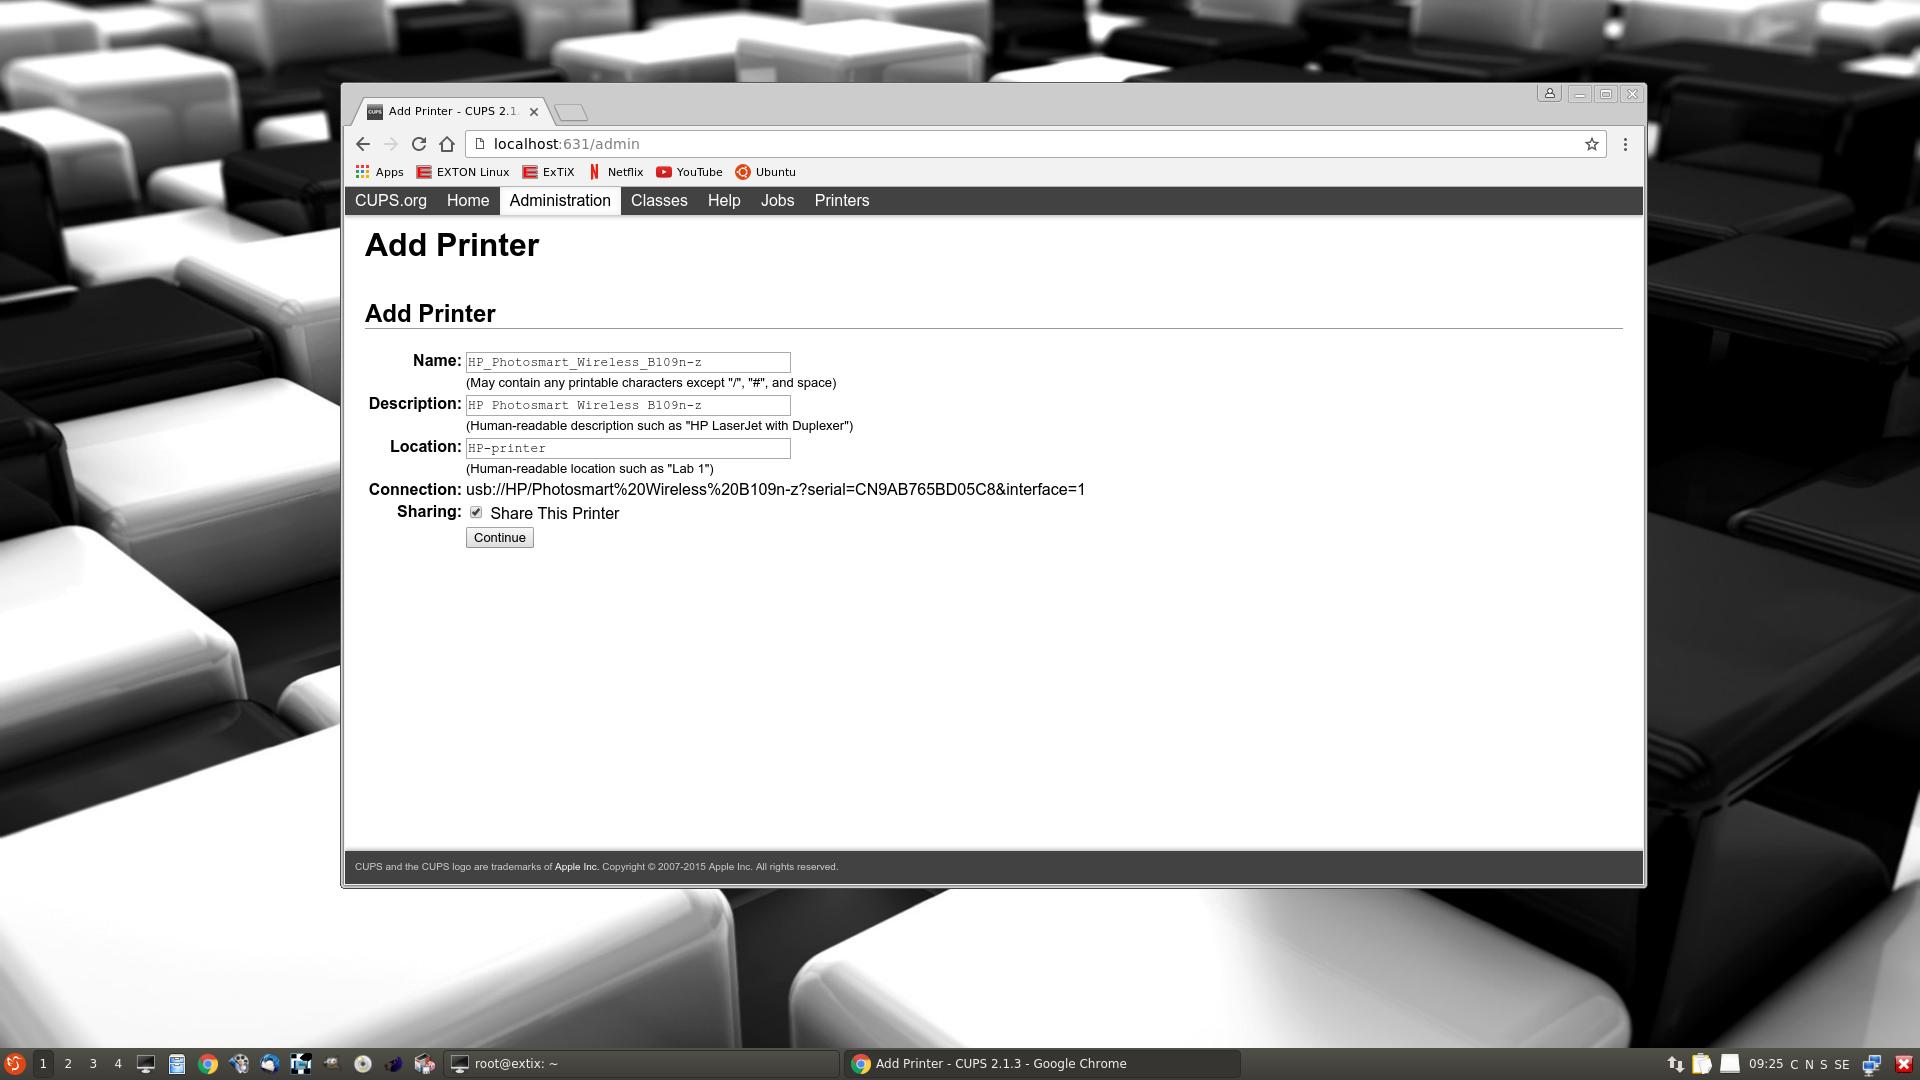
2. Add the printer
3. Add a local printer
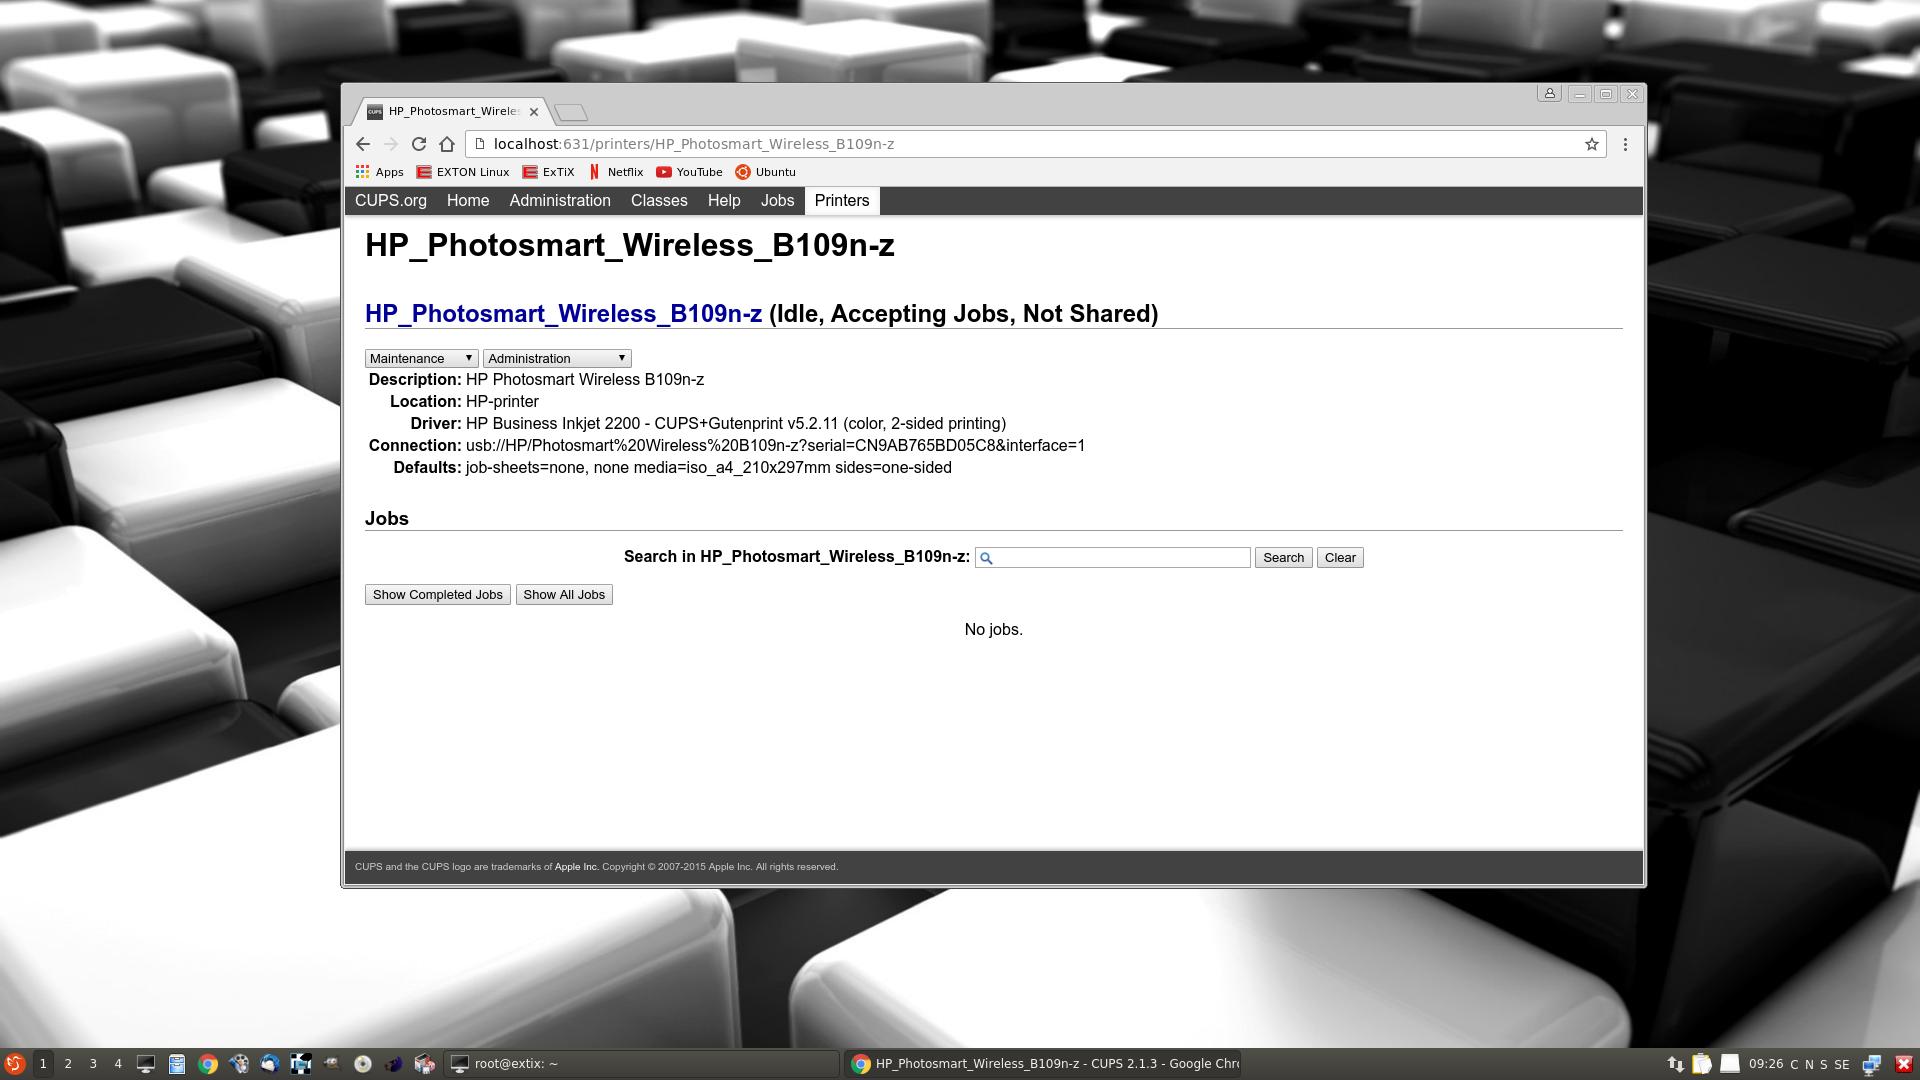
4. Configuration of the added printer
5. Printing a test document
Online photo editing with Fotojet
For “normal” photo editing you don’t need Adobe Photoshop or Gimp. Just go to fotojet.com (an all-in-one free online tool for photo editing, graphic design and photo collages) using Firefox or Google Chrome.
Changing the root password
If you install ExTiX to hard drive you must/should immediately (for security reasons) manually change root’s password. This is because the installation program does not ask about a new root password. (Ubuntu original uses no root password). The root password is changed by running the command sudo passwd root. After installing ExTiX to hard drive, you can alternatively remove the root password altogether. This is done with the command sudo passwd root -l.
Compatibility
A general truth: If an original system can run on a particular computer an Exton “remaster” of the same original system can run on the same computer. I never change a Linux system for the worse in terms of auto configuration and hardware detection, etc. It happens that I replace the original kernel, but always to a “better” one with even more native support for various hardware etc. (Which I have done in this case).
SCREENSHOTS
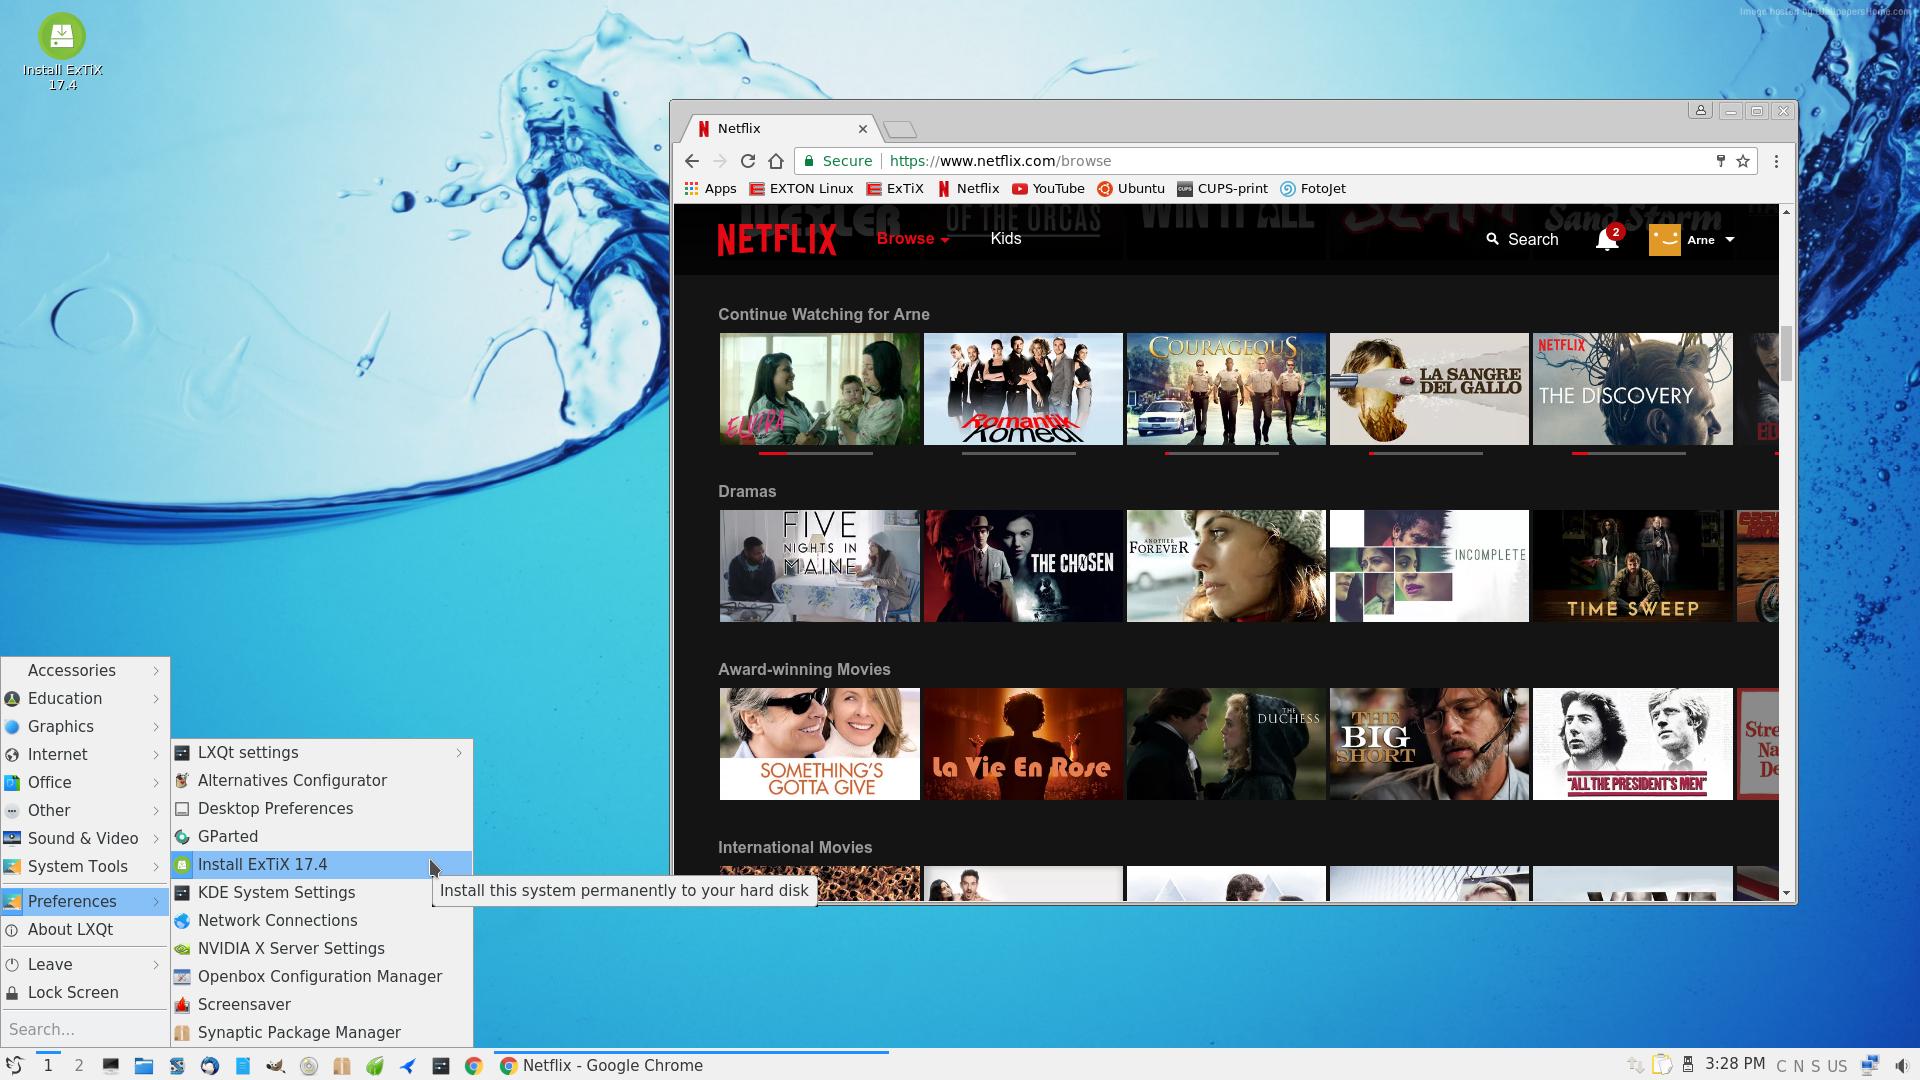
Screenshot of ExTiX 17.4 Desktop – LXQt 0.11.1
Google Chrome with Netflix running
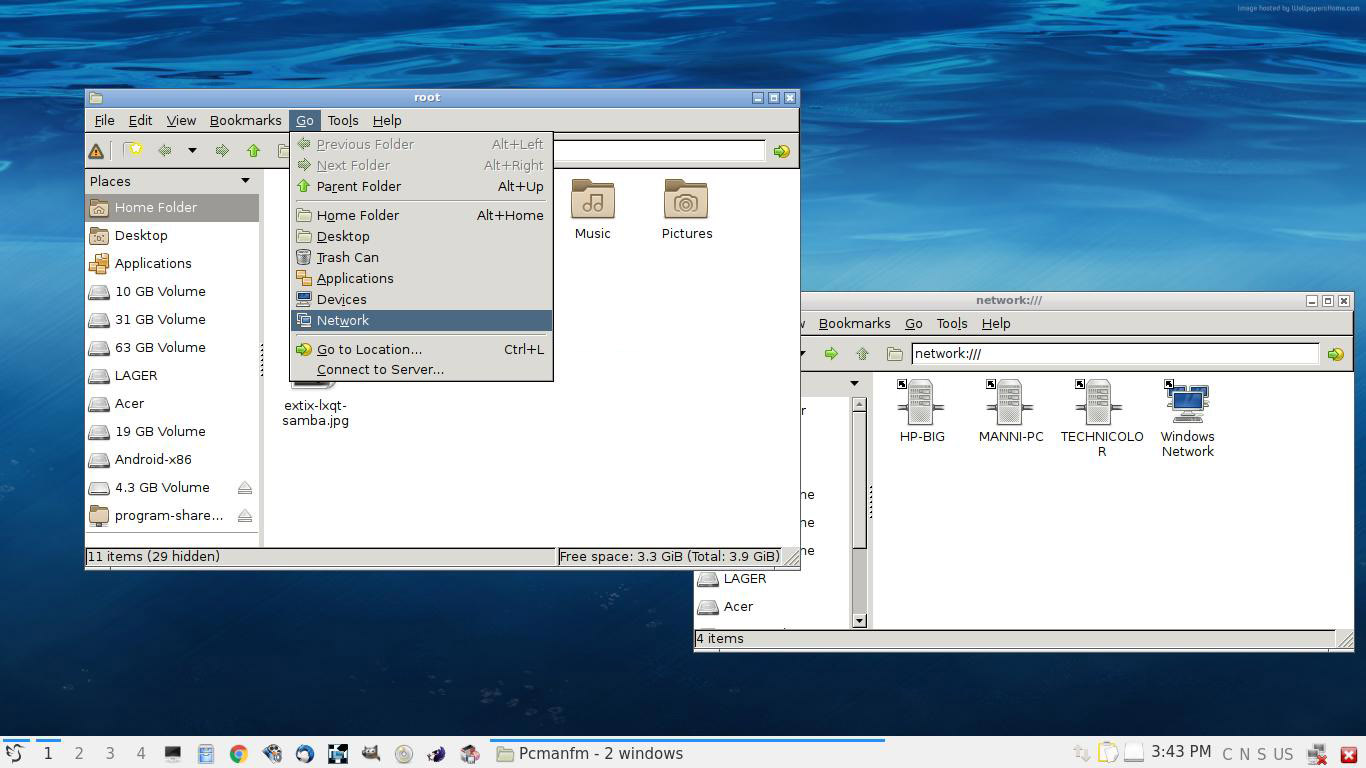
Connections to Windows computers via PCManFM-qt using Samba

DOWNLOAD
This version has been replaced by version 171012…
![]()
Read about my Android-x86 Systems – Nougat, Marshmallow, Lollipop and KitKat at
andex.exton.net – latest is AndEX Nougat!
and
about my Nougat, Marshmallow and Lollipop versions for Raspberry Pi 3/2 at
raspex.exton.se – latest is RaspAnd Nougat!
Love Extix, keep up the good work! Is there anyway to know what version of extix I’m running? I think I initially installed 17.2. Can I upgrade or do I need to do a clean install to upgrade to 17.4?
Thank you!
Check /etc/issue
You can upgrade yourself. Just change /etc/apt/sources.list. (zesty instead of yakkety). Then run the command sudo apt-get update followed by sudo apt-get dist-upgrade
Good luck!