
ExTiX 17.8 – “The Ultimate Linux System” – with LXQt 0.11.1, Refracta tools, Nvidia 384.90 and kernel 4.13.0-15-exton – Build 171012
 I have made a new version of ExTiX – The Ultimate Linux System. I call it ExTiX 17.8 LXQt Live DVD. (The previous version was 17.4 from 170418).
ABOUT
ExTiX 17.8 LXQt DVD 64 bit is based on Debian 9 Stretch and Ubuntu 17.10 Artful Aardvark, to be released 171019. The original system includes the Desktop Environment Gnome. After removing Gnome I have installed LXQt 0.11.1. LXQt is the Qt port and the upcoming version of LXDE, the Lightweight Desktop Environment. It is the product of the merge between the LXDE-Qt and the Razor-qt projects: A lightweight, modular, blazing-fast and user-friendly desktop environment.
The system language is ENGLISH.
Used KERNEL
My special kernel 4.13.0-15-exton corresponding Kernel.org’s stable kernel 4.13.4.
NEWS ABOUT ExTiX 17.8 build 171012 with the LXQt Desktop environment
1. ExTiX LXQt is based on Ubuntu 17.10 Artful Aardvark. LXQt 0.11.1 is used as Desktop environment. All packages have been updated to the latest version by 171012. Kernel 4.13.0-15-exton is used. (Kernel.org‘s kernel 4.13.4).
2. Firefox has replaced Google Chrome as Web Browser. It’s now possible to watch Netflix movies also in Firefox (while running Linux).
3. I have installed BlueGriffon 2.3.1 Web Editor. BlueGriffon is a new WYSIWYG content editor for the World Wide Web. Powered by Gecko, the rendering engine of Firefox, it’s a modern and robust solution to edit Web pages in conformance to the latest Web Standards. Only to be compared with Dreamweaver. (In my opinion).
4. Other included important/useful packages are: LibreOffice, Thunderbird, GParted, Brasero, SMPlayer, GCC and other compilation tools so that you can install packages from source. Furthermore “all” multimedia codecs. Everything the average Linux user could wish for I would say.
5. I have also installed Nvidia’s proprietary graphics driver 384.90 in this new version ExTiX LXQt. It has support for the following GPUs: Vulkan, GeForce GTX 1080 Ti,TITAN Xp, Quadro GP100, Quadro P4000, Quadro P2000, Quadro K1200, Quadro M6000, GeForce 920M, GeForce 930A, GeForce 930M, GeForce 940M, GeForce GTX 950M, GeForce GTX 960M and GeForce GTX TITAN X. This driver will be used automatically if your card is supported if you start up ExTiX in compatibility mode – nomodeset.
WHAT’S SO SPECIAL about ExTiX and especially the new version from 171012?
1. The ExTiX ISO’s are ISO-hybrids, which means that they can very easily be transferred (copied) to a USB pen drive. You can even run ExTiX from the USB stick and save all your system changes on the stick. I.e. you will enjoy persistence!
2. Another big improvement is that both ExTiX versions can run from RAM. Use Boot alternative 4 (Load to RAM). When the system has booted up you can remove the disc (DVD) or USB stick. You’ll need at least 2 GB RAM to run ExTiX that way. Running from RAM means that the system will run faster than from DVD or USB stick. Everything will be superfast I would say!
3. All packages have been upgraded to the latest version by 171012.
4. I’ve replaced kernel 4.10.0-19-exton with kernel 4.13.0-15-exton (Kernel.org‘s stable kernel 4.13.4).
5. The installation program Ubiquity (live installer) is now working as intended.
LOG IN to LXQt
You can run ExTiX live as root (superuser) or as the ordinary user live. Log in from Slim‘s Login Manager as root with password root in the LXQt version or as live with password live. After a hard drive installation you will get the opportunity to create your own normal user. When logged in as live you can use Sudo to become root. (Command: sudo su).
Wireless connections
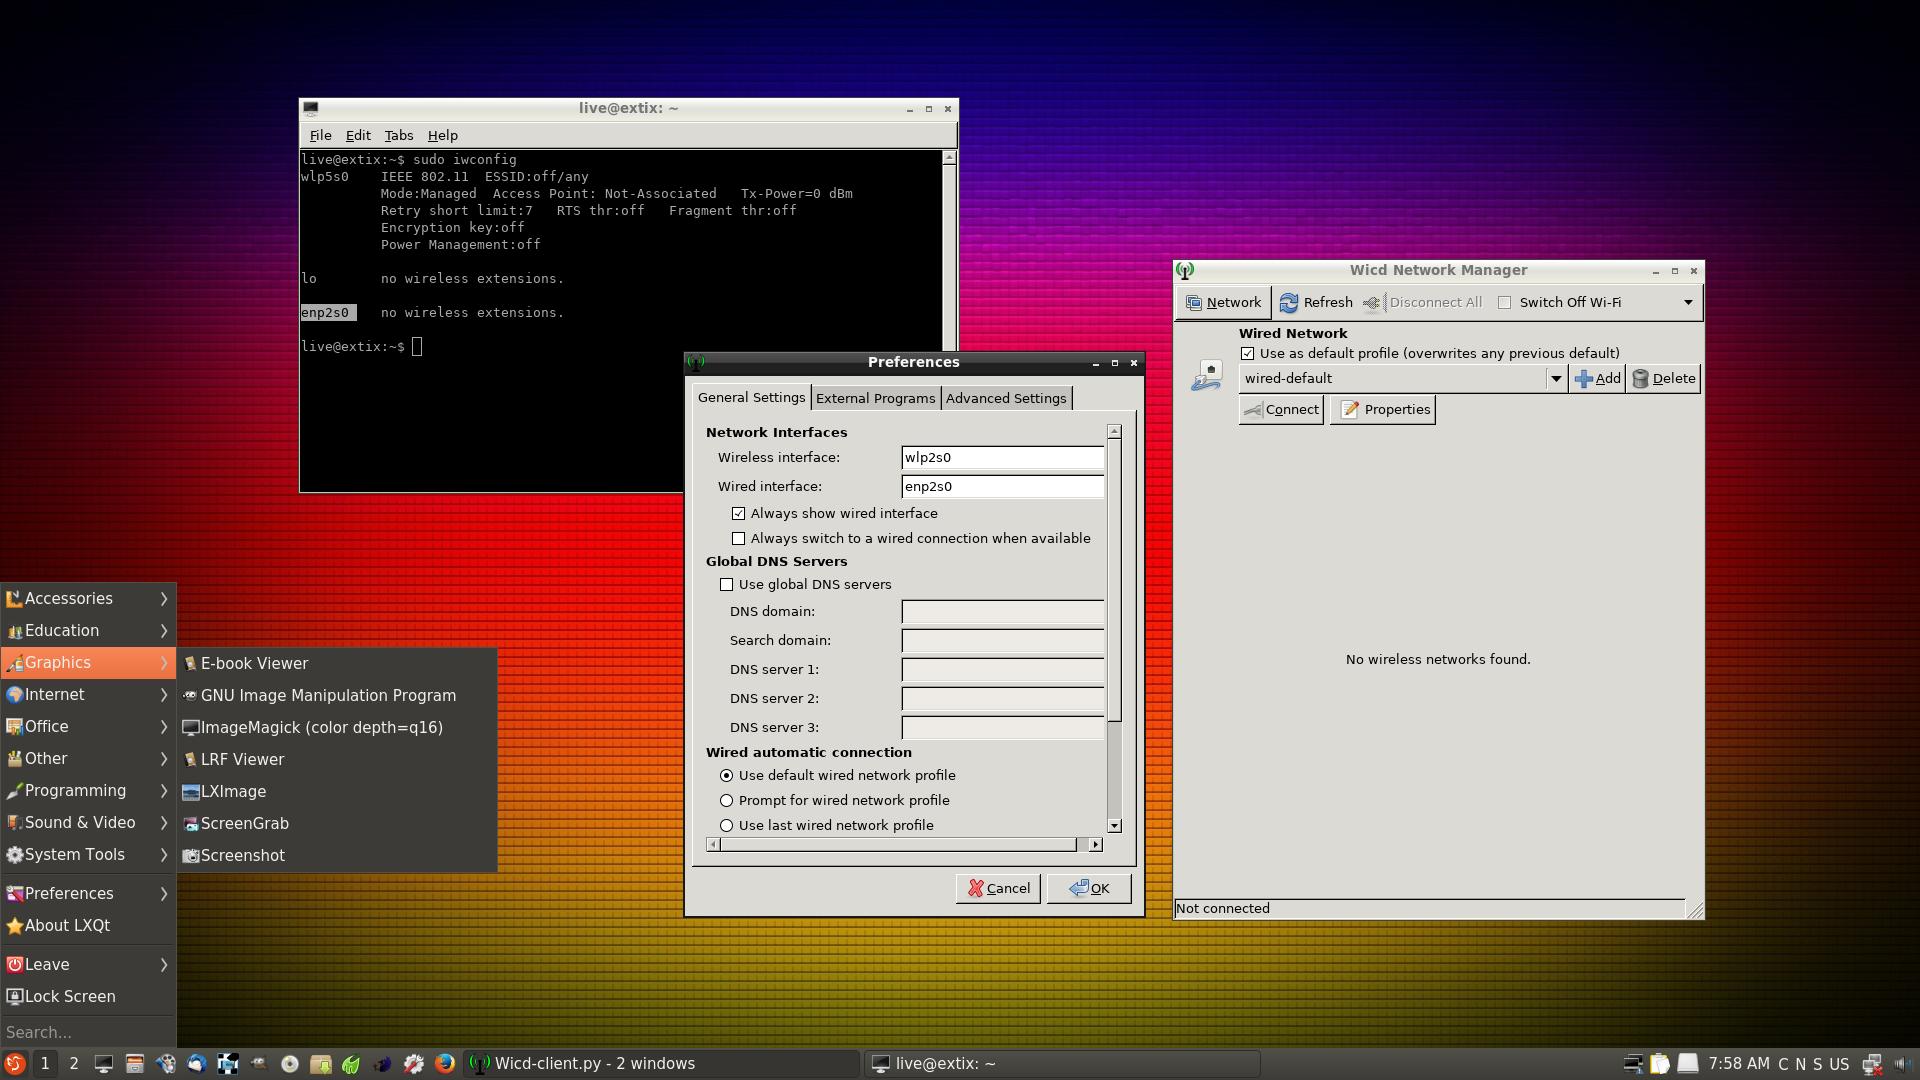
I have replaced NetworkManager with Wicd. It works better in ExTiX LXQt. You may have to change Wicd’s preferences to be able to connect. Watch this screenshot.
Install ExTiX to hard drive
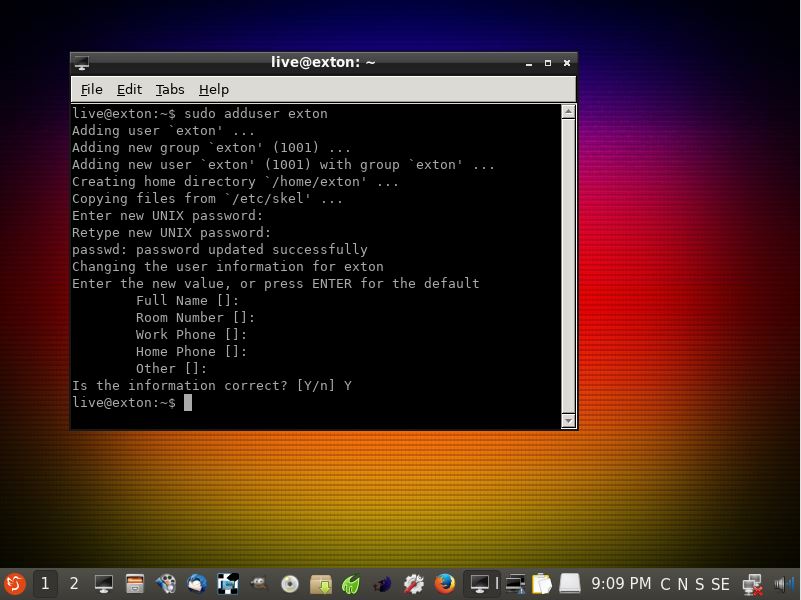
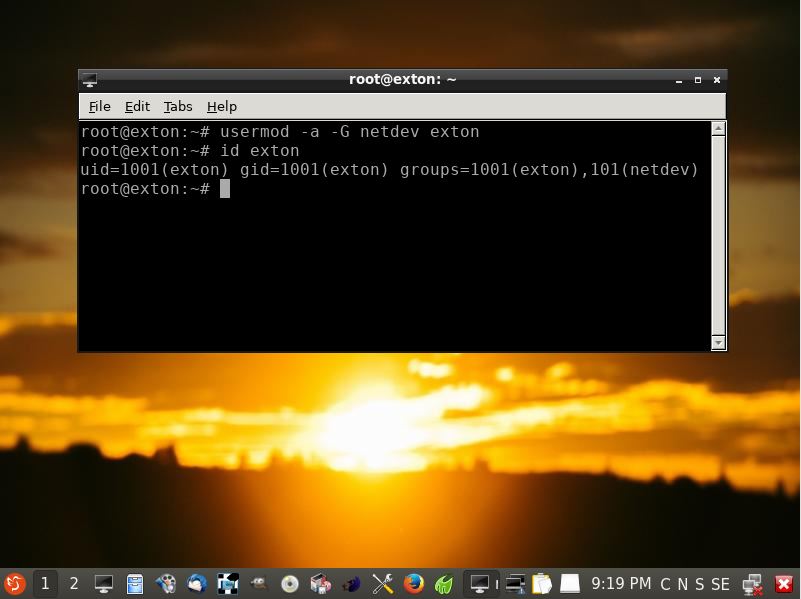
Just start the install program Ubiquity from the menu (Install ExTiX). Then just follow the instructions. After a hard drive installation you can still log in as root or live. Create your own user as this screenshot shows. You must also add your user to the netdev group – watch this screenshot.
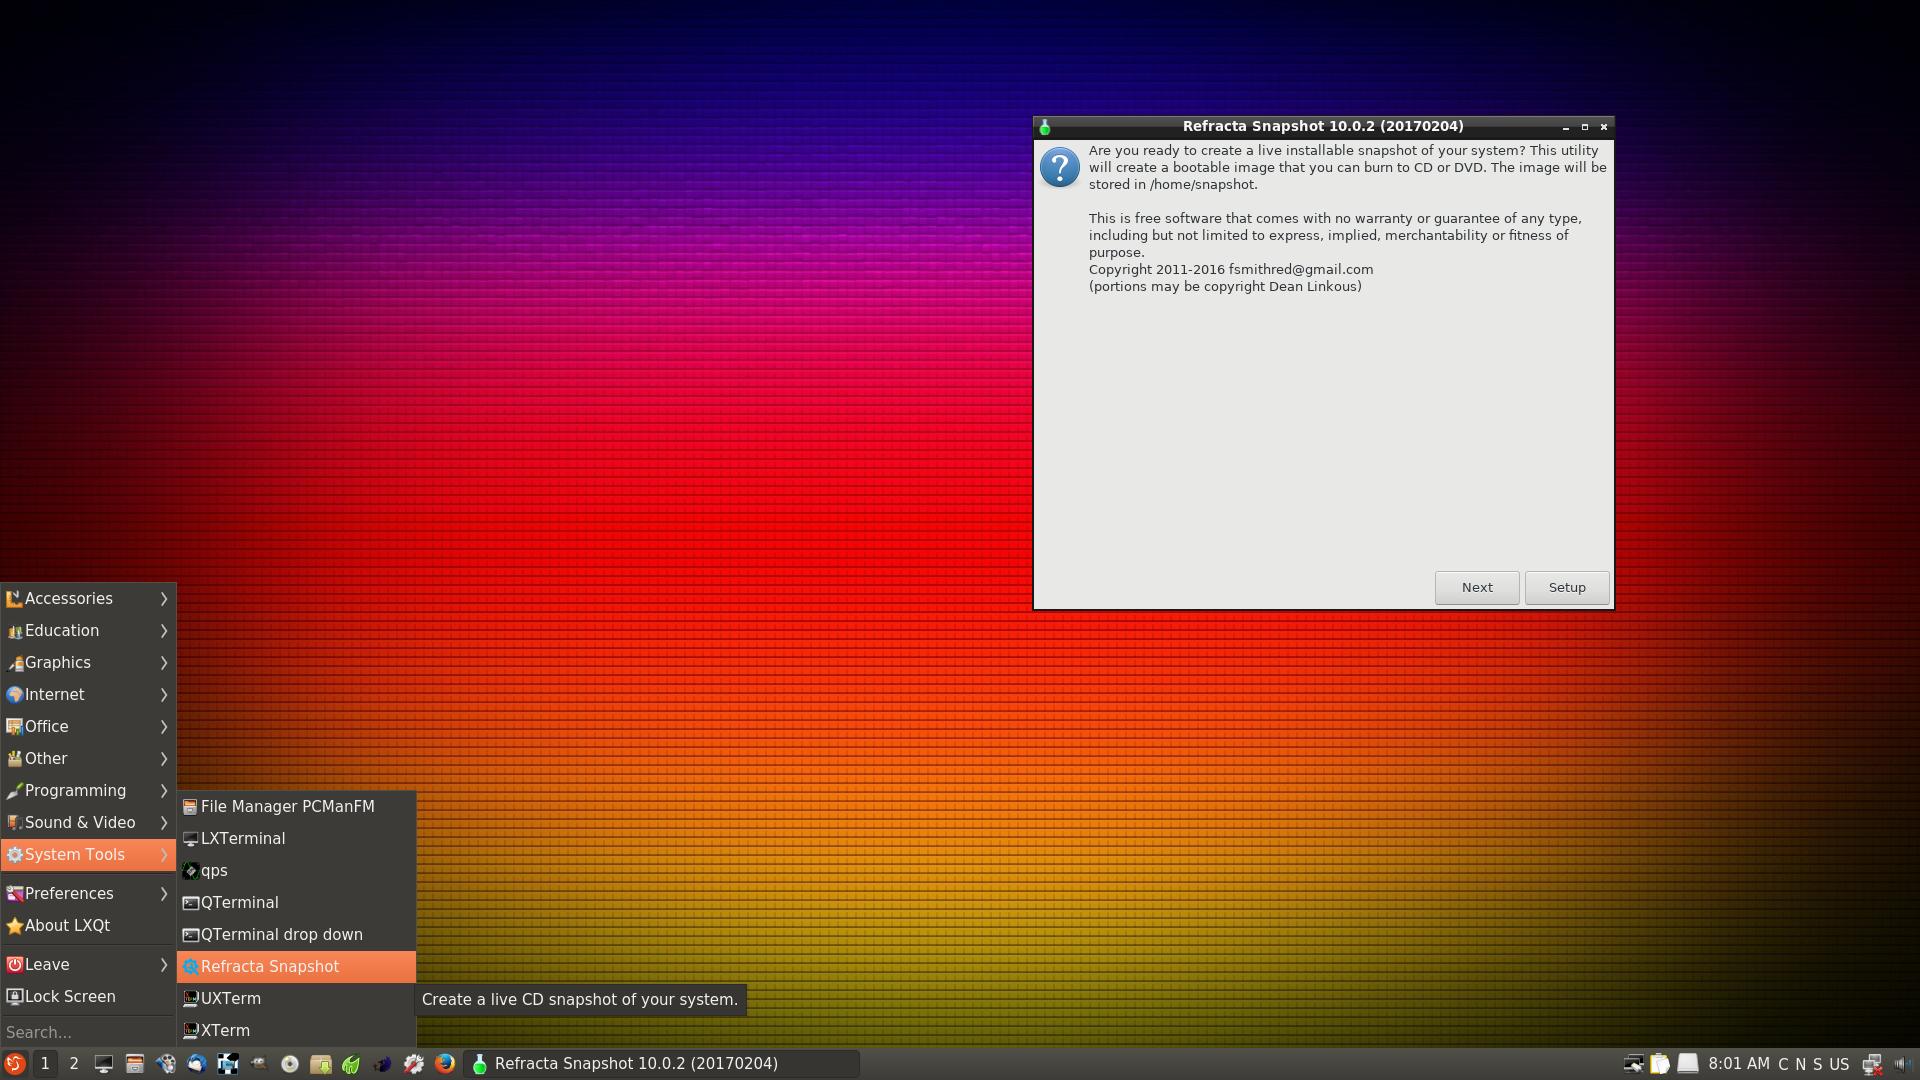
Refracta Tools
While running ExTiX LXQt 17.8 live or from hard drive you can use Refracta tools (pre-installed) to create your own live installable Ubuntu system. A ten year child can do it! Watch a slideshow below. (The slideshow is for ExTiX Budgie 17.7, but Refracta tools works in the same way in ExTiX LXQt). You don’t even have to install ExTiX to hard drive before you can use the Refracta tools. If you have plenty of RAM you can create a new (your own!) Ubuntu system while running ExTiX from a DVD or a USB stick. Please note that the whole Refracta process (creating your new ISO) will only take 10 – 15 min! You’ll find the ISO in /home/snapshots. (Or change that in /etc/refractasnapshot.conf).
Using the Nvidia proprietary driver
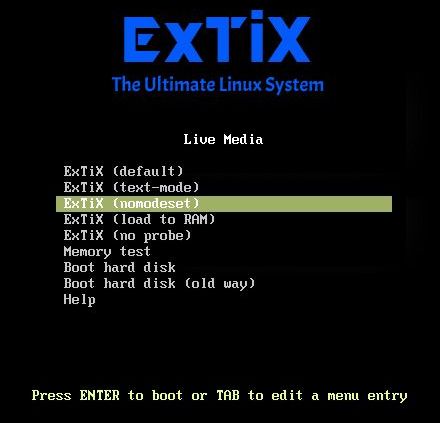
If you want (and can) use Nvidia’s proprietary graphics driver 384.90 you shall boot up ExTiX using boot alternative 3 (nomodeset). If you can’t reach X/LXQt then your card isn’t supported. Reboot your computer. After a hard drive installation of ExTiX the open source driver Nouveau will be used, since it’s “built in” in the kernel. If you want and can use Nvidia’s proprietary graphics driver 384.90 you’ll have to change /boot/grub/grub.cfg as this example shows.
menuentry ‘ExTiX 17.8 (sda9) LXQt 171012’ –class gnu-linux –class gnu –class os $menuentry_id_option ‘gnulinux-simple-d9f3f7ee-4949-431c-8823-26acdfcac7a0′ {
insmod gzio
insmod part_gpt
insmod ext2
set root=’hd0,gpt9’
if [ x$feature_platform_search_hint = xy ]; then
search –no-floppy –fs-uuid –set=root –hint-bios=hd0,gpt9 –hint-efi=hd0,gpt9 –hint-baremetal=ahci0,gpt9 d9339f56-4fb9-48c7-bcea-5ede6b3f13b9
else
search –no-floppy –fs-uuid –set=root d9339f56-4fb9-48c7-bcea-5ede6b3f13b9
fi
linux /boot/vmlinuz-4.13.0-15-exton root=UUID=d9339f56-4fb9-48c7-bcea-5ede6b3f13b9 rw nomodeset
initrd /boot/initrd.img-4.13.0-15-exton
}
USB installation
Read my instruction.
Printing using Cups
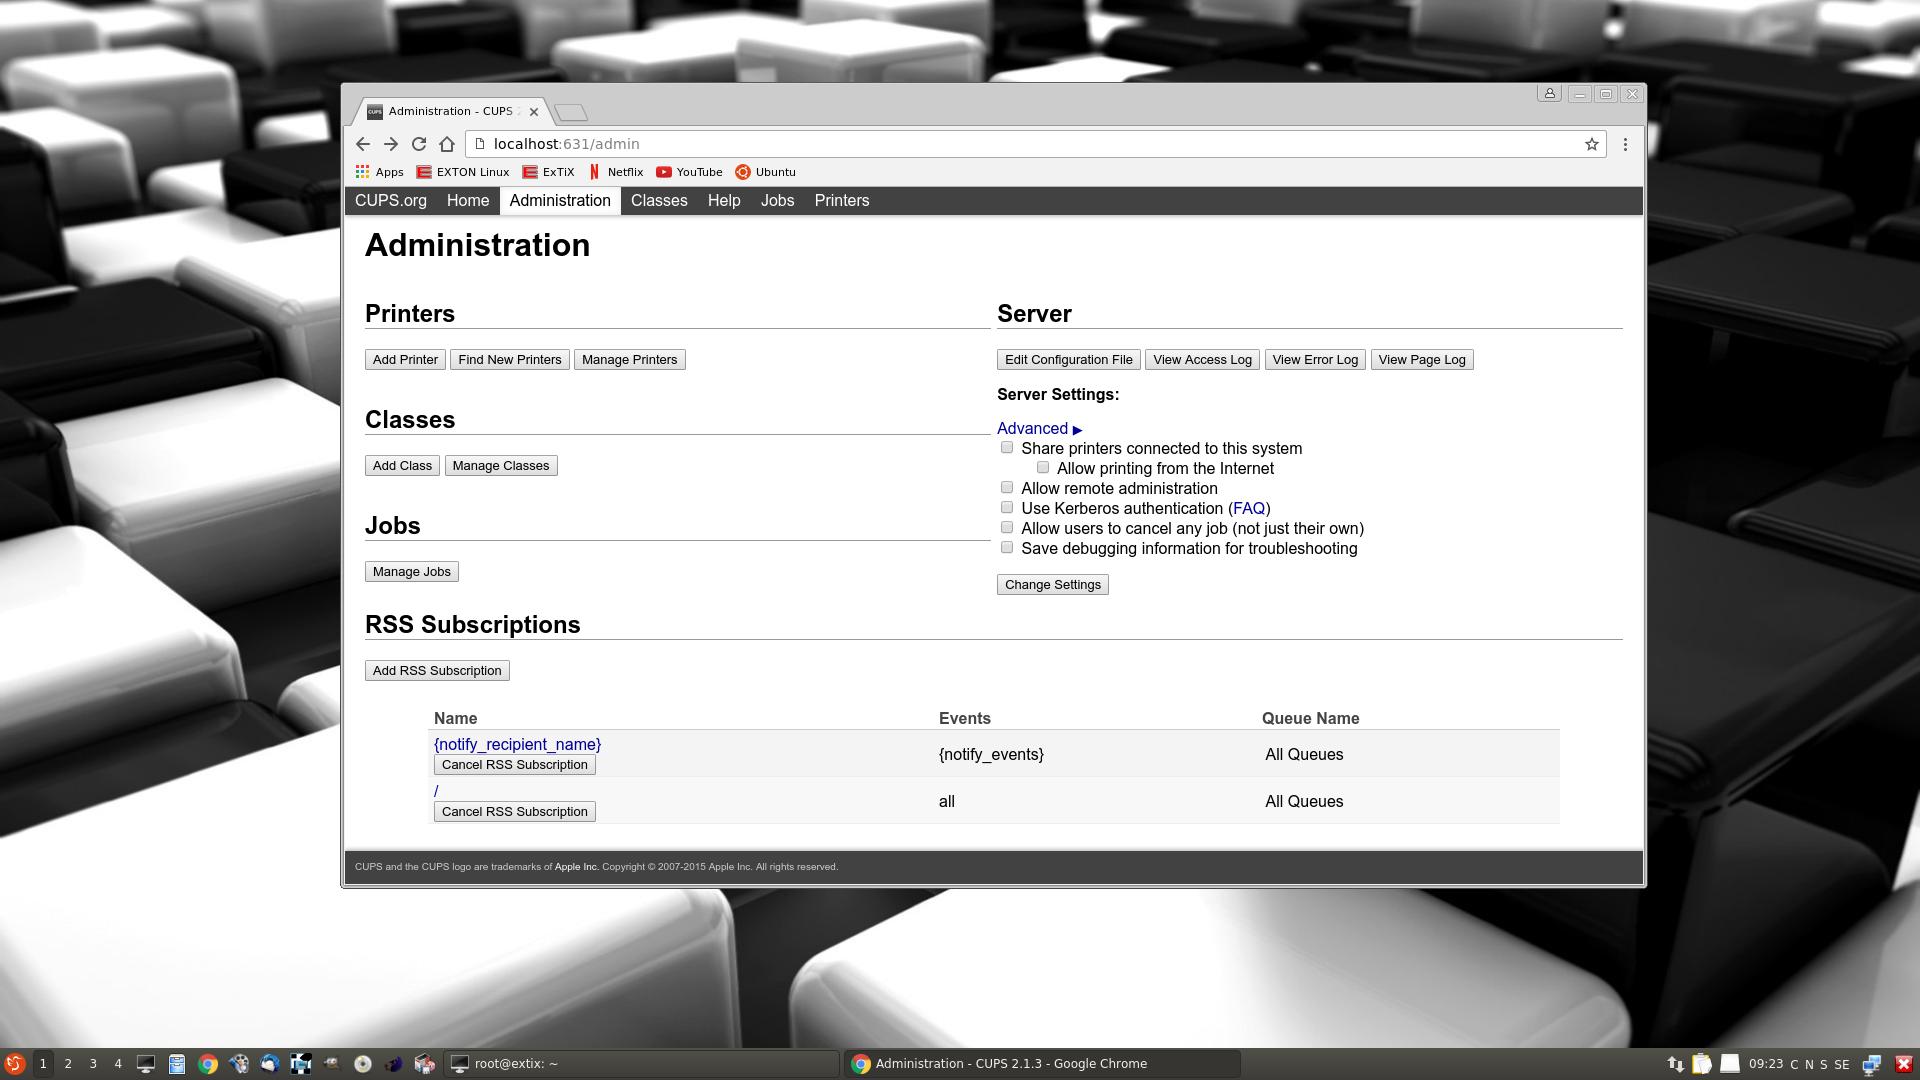
It’s really very simple to install a printer in ExTiX/Ubuntu. First you have to install Cups (Common UNIX Printing System). Do it in Synaptic or use the command sudo apt-get install cups. Then open up Google Chrome and go to http://localhost:631/admin. See the following five screenshots showing when I added my local printer HP Photosmart Wireless in ExTiX LXQt.
1. Cups start page
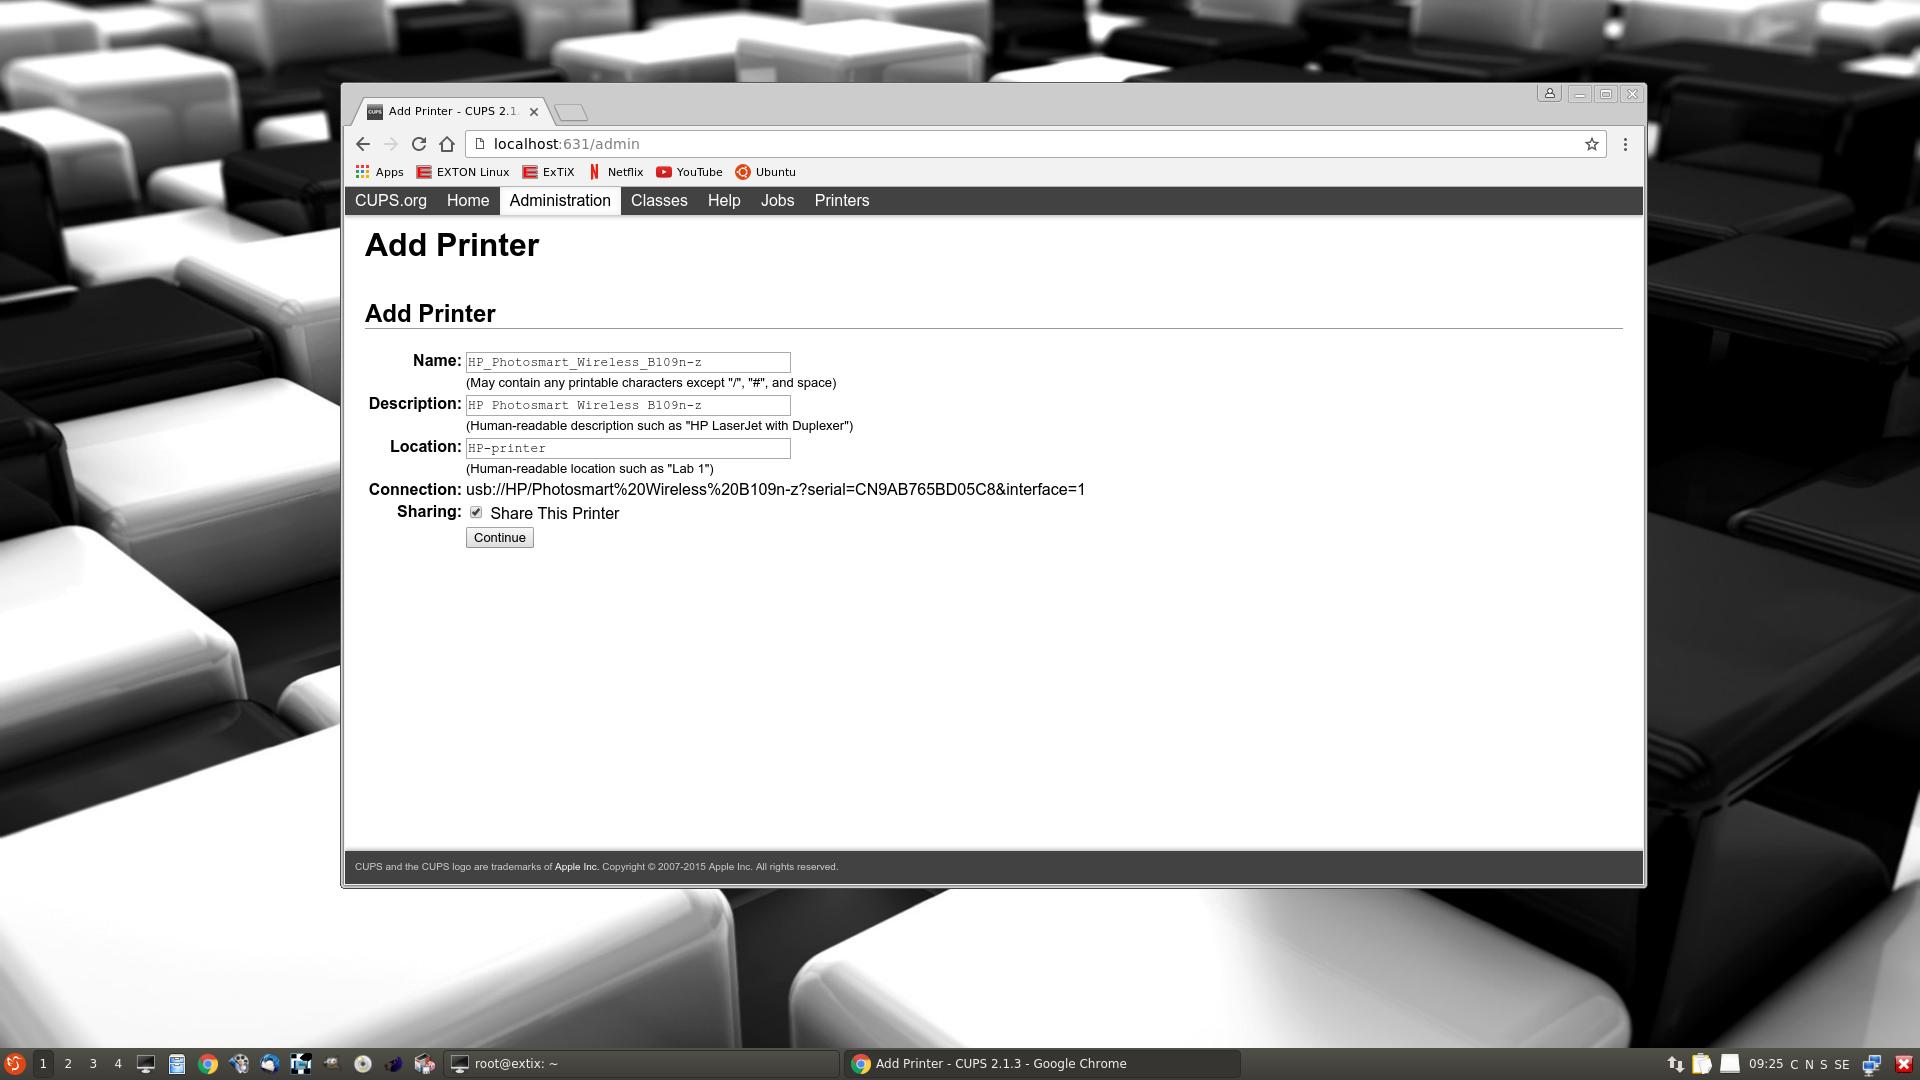
2. Add the printer
3. Add a local printer
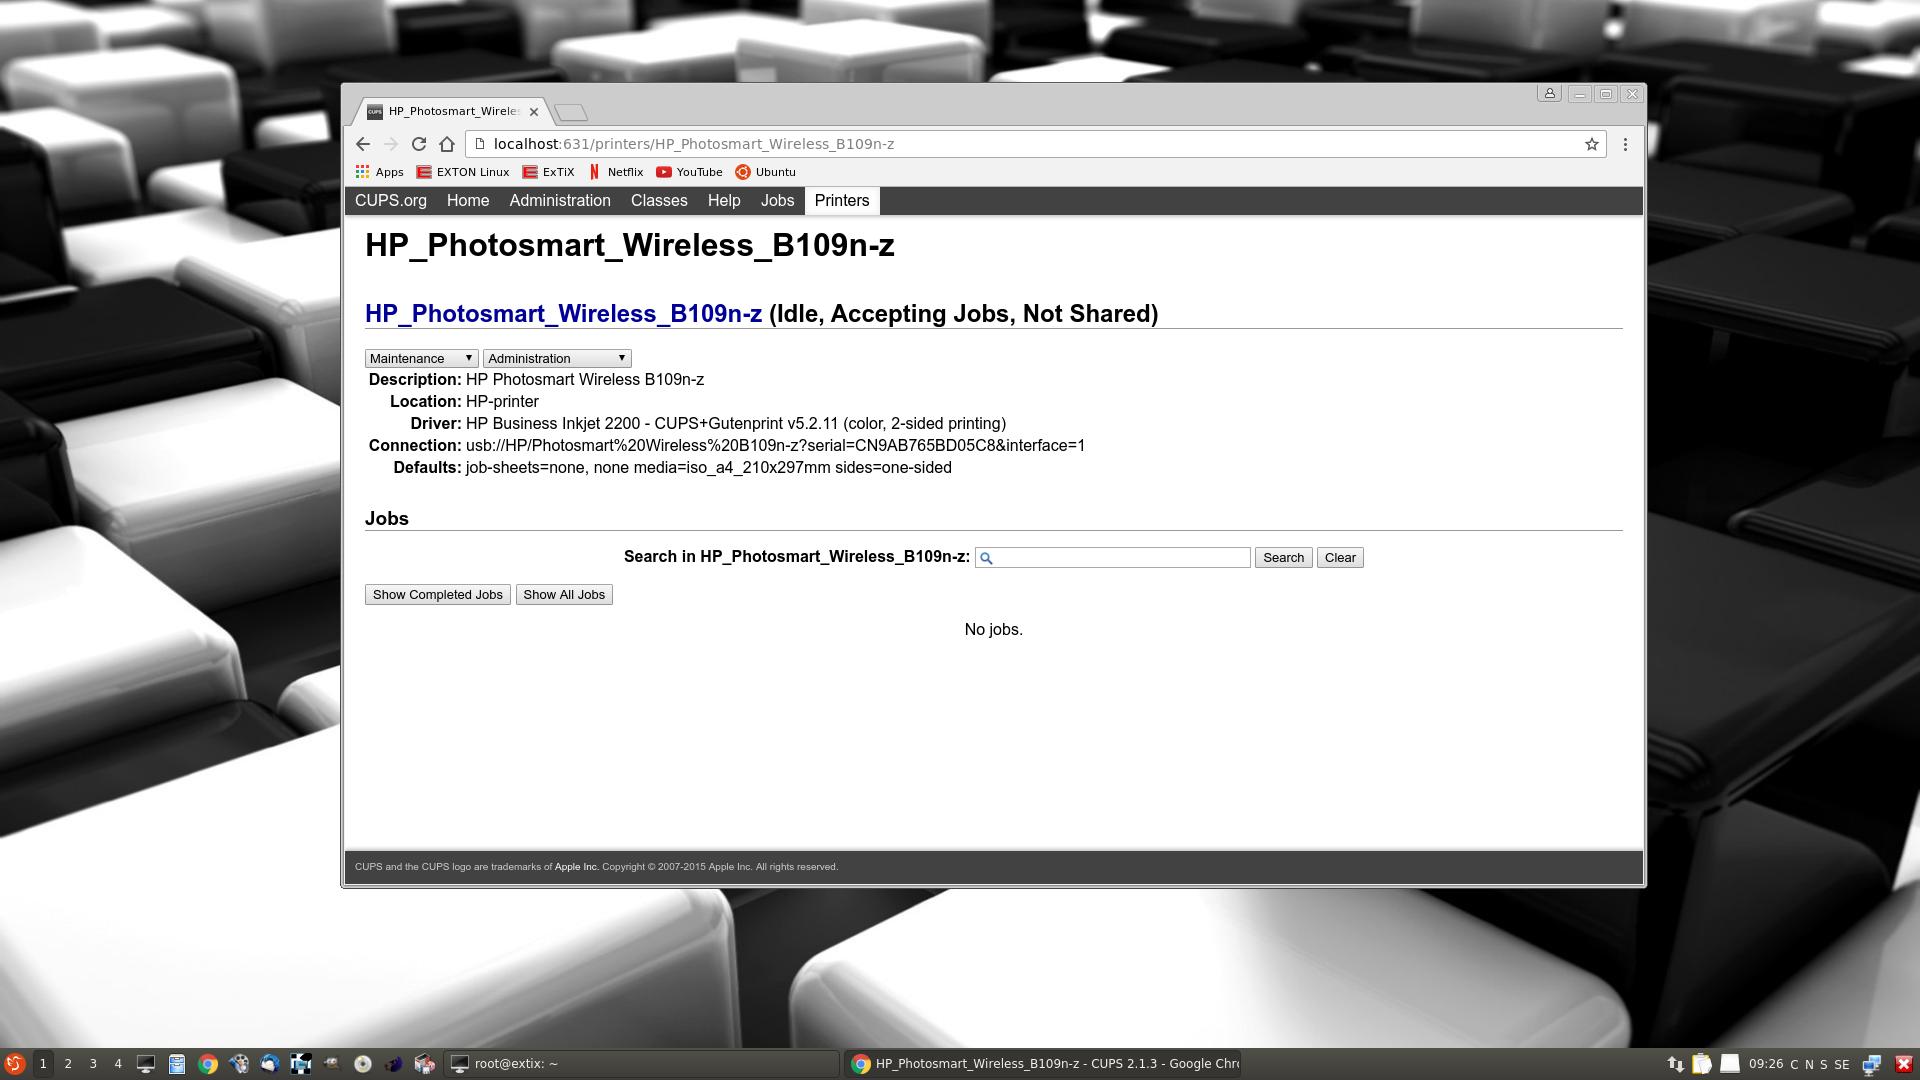
4. Configuration of the added printer
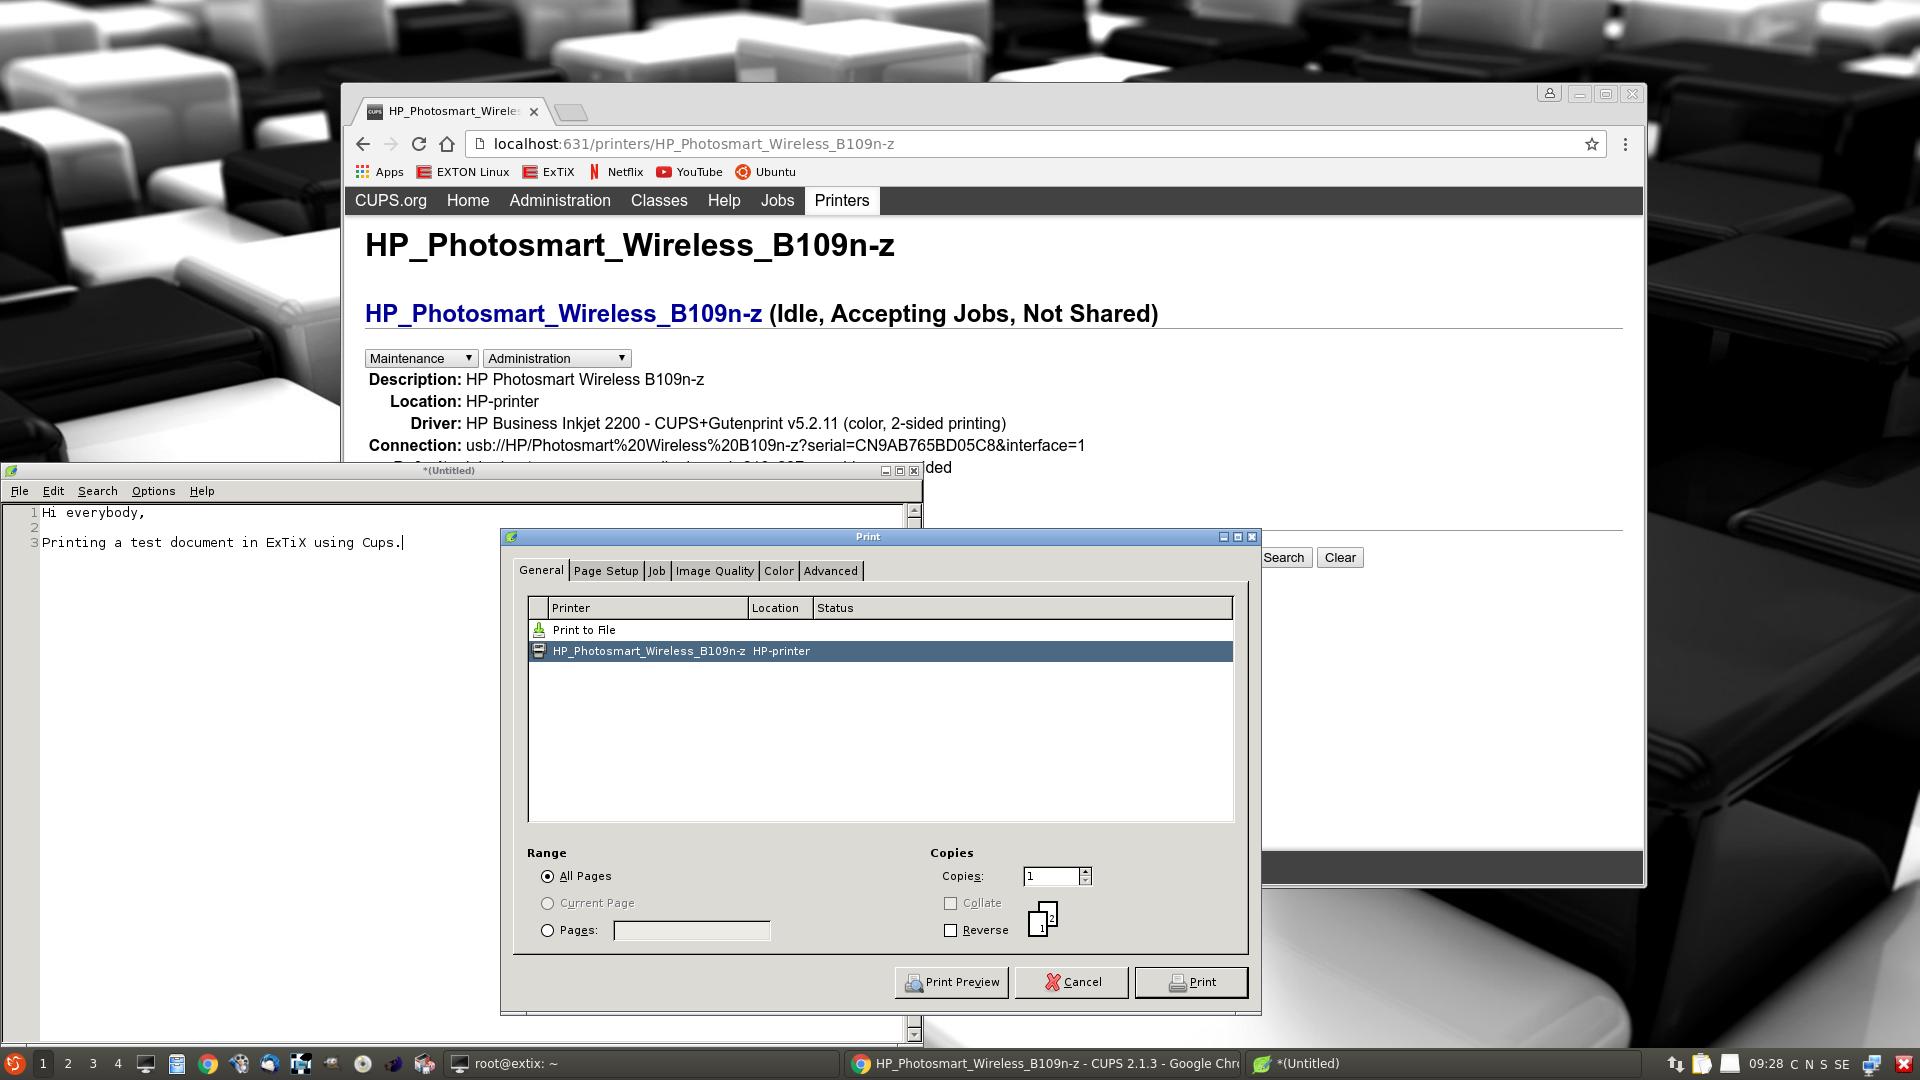
5. Printing a test document
Online photo editing with Fotojet
For “normal” photo editing you don’t need Adobe Photoshop or Gimp. Just go to fotojet.com (an all-in-one free online tool for photo editing, graphic design and photo collages) using Firefox.
Changing the root password
If you install ExTiX to hard drive you must/should immediately (for security reasons) manually change root’s password. This is because the installation program does not ask about a new root password. (Ubuntu original uses no root password). The root password is changed by running the command sudo passwd root. After installing ExTiX to hard drive, you can alternatively remove the root password altogether. This is done with the command sudo passwd root -l.
THE IMPORTANCE of ExTiX LXQt now being based on Ubuntu 17.10 (UNSTABLE/DEVELOPMENT)
I don’t think it is too important since ExTiX LXQt doesn’t use complicated Desktop Environments like KDE, Gnome or Unity. Programs won’t crash or anything like that. And I haven’t discovered any bugs to report.
Compatibility
A general truth: If an original system can run on a particular computer an Exton “remaster” of the same original system can run on the same computer. I never change a Linux system for the worse in terms of auto configuration and hardware detection, etc. It happens that I replace the original kernel, but always to a “better” one with even more native support for various hardware etc. (Which I have done in this case).
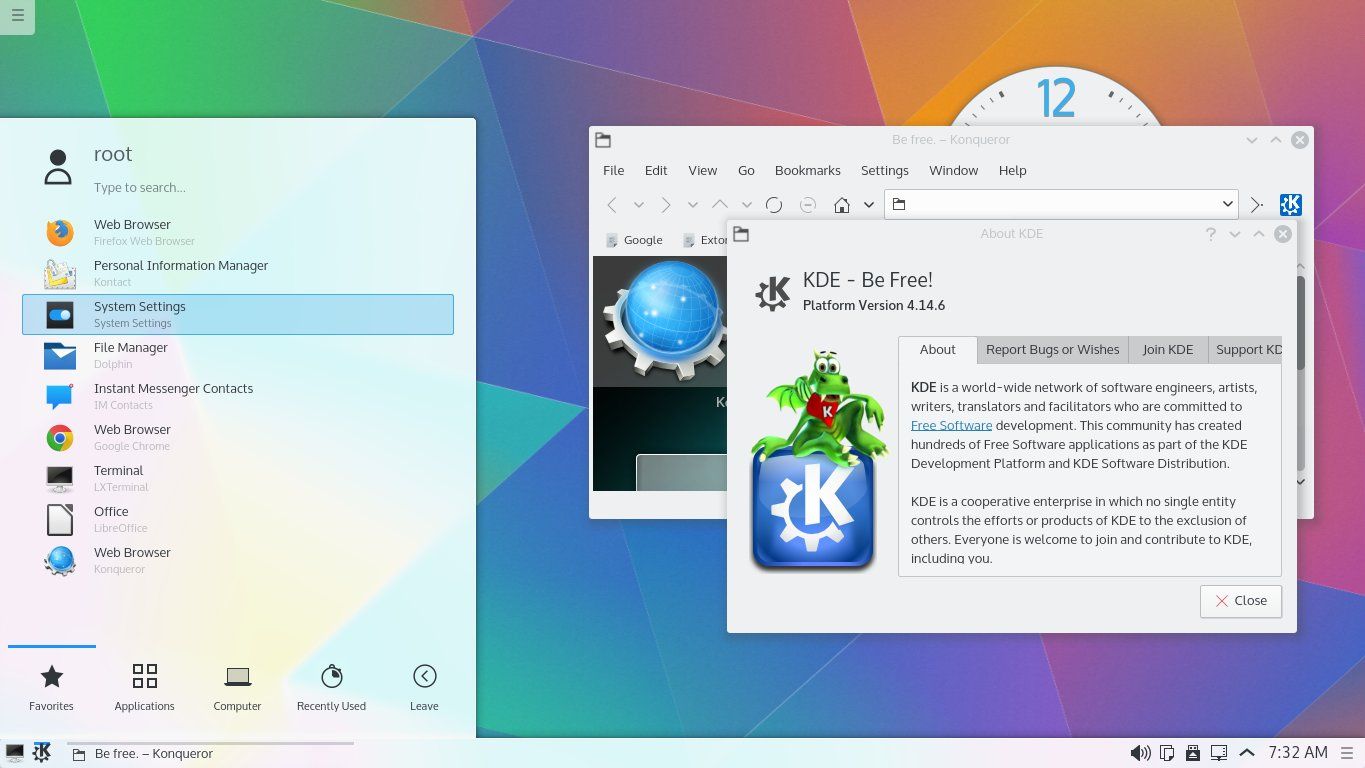
SCREENSHOTS
Screenshot of ExTiX 17.8 Desktop – LXQt 0.11.1
Refracta tools running while logged in as user live
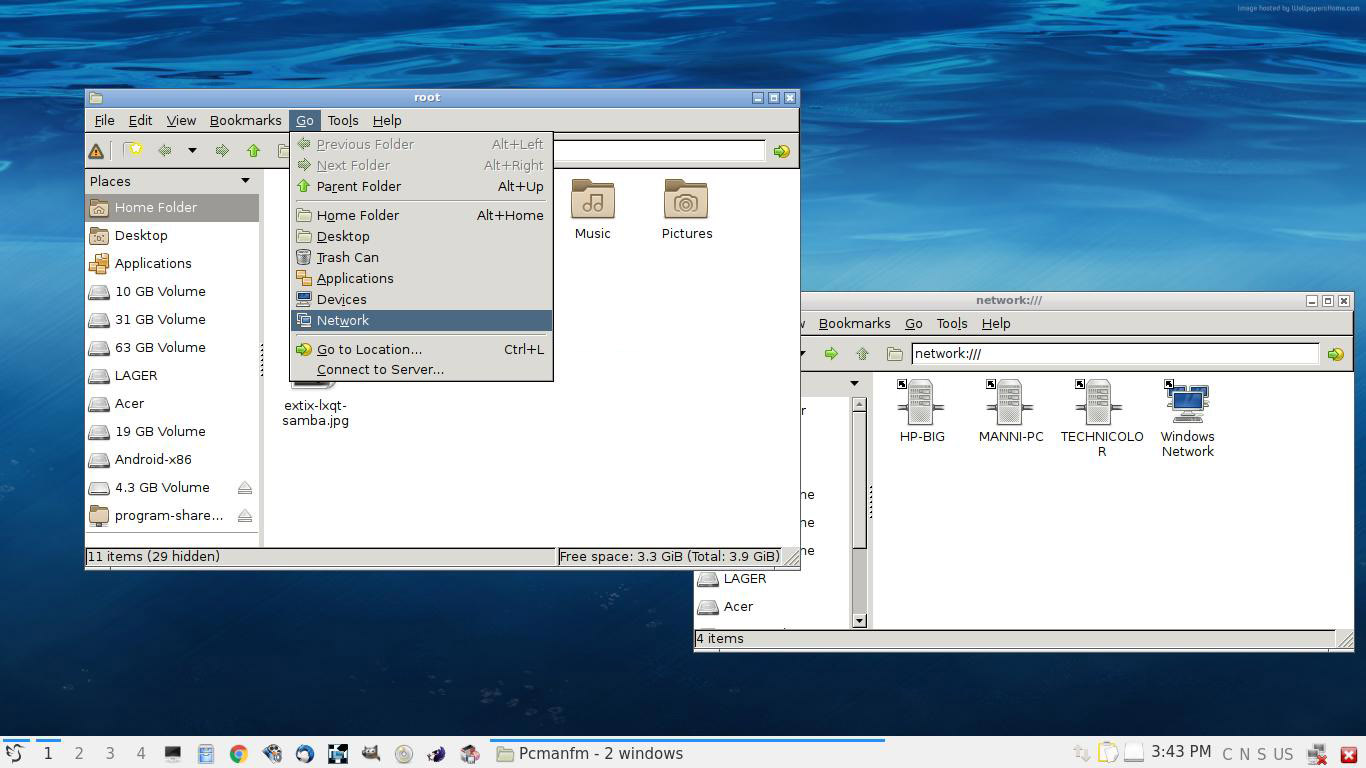
Connections to Windows computers via PCManFM-qt using Samba
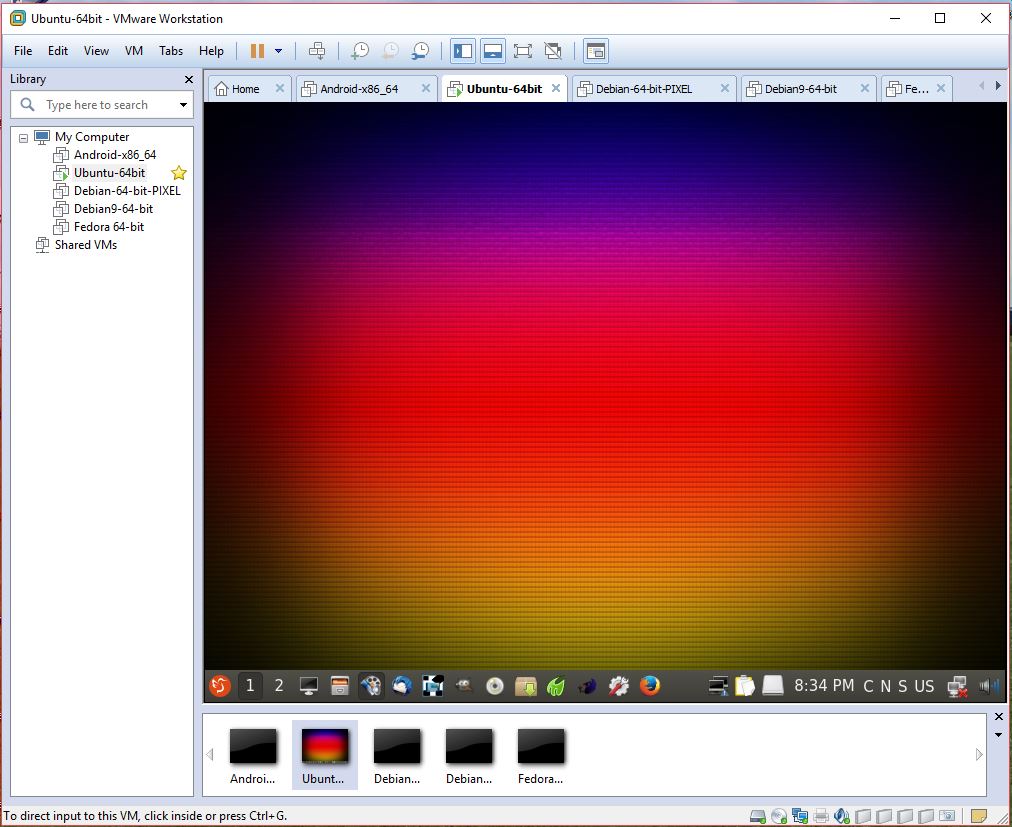
ExTiX running in VMware

DOWNLOAD
This version of ExTiX has been replaced by version 18.4 Build 180419
![]()
Read about my Android-x86 Systems – Oreo, Nougat, Marshmallow, Lollipop and KitKat at
andex.exton.net – latest is AndEX Oreo 8.1!
and
about my Nougat, Marshmallow and Lollipop versions for Raspberry Pi 3/2 at
raspex.exton.se – latest is RaspAnd Nougat 7.1.2!
ExTiX 17.8 LXQt is now on the front page at DistroWatch.com. This fact will dramatically increase the download rate.
READ MORE: http://distrowatch.com/index.php?dataspan=1
EDIT 171014
Yes, over 5000 downloads in two days from SourceForge.net and the Swedish Linux Society.
Softpedia 171013: “GNU/Linux developer Arne Exton recently released a new version of his ExTiX Linux distro, which he dubs as “the Ultimate Linux System,” based on Ubuntu 17.10 and Debian GNU/Linux 9 “Stretch.”
Tagged as Build 171012, ExTiX 17.8 is the most recent update of the GNU/Linux distribution, which appears to be the first to be based on Canonical’s upcoming Ubuntu 17.10 (Artful Aardvark) operating system, but also borrowing some packages from the repositories of Debian GNU/Linux 9 “Stretch” OS.”
READ MORE: http://news.softpedia.com/news/extix-17-8-the-ultimate-linux-system-is-first-distro-based-on-ubuntu-17-10-518031.shtml
Hi Exton,
I was trying out extix after a while (15.3 was last). The 17.8 version is smooth, fast and has low memory footprint, and seems to be quite excellent.
However, it seems to have some bugs. I’ll post them as I come across. Here is the 1st installment:
1. the “fromiso” option stopped working; i’ve found that it’s because the busybox inside initrd was not compiled with the “dirname” command included. When I open up the initrd, add a script that works like dirname command (using ‘basename’, which is included), the fromiso option works.
2. wicd failed to see any wireless networks on my laptop or to connect over USB (to a tethered iphone). If NetworkManager is installed and activated via systemd (along with deactivating wicd), things work.
3. persistence seems a bit stripped down. Older options for this feature seems to have be cut down. I’m still experimenting with this.
4. non-EFI installations are apparently not supported with this. But, it’s good to have that option for those who do not use EFI booting.
Thanks, and keep up your excellent work, Exton!
mvr
Thanks for your kind words.
2. If NetworkManager works Wicd must work too. Just run the command iwconfig and change Wicd’s preferences accordingly. Then press the button Refresh.
4. Non-Efi installations work. You just have to replace grub-amd64 with grub-pc before you start the installation.
Dear Sirs;
Could you please check the system inside virtualbox as a guest and see whether the network works? Wicd does not detect any wired networks. Appreciate if you could diagnose the problem and write your solution here.
Just run the command iwconfig as root (to find out the network interface). Then change Wicd’s preferences accordingly. Refresh!
When I press the properties button in wicd the following window looks nothing like the 1 in your screenshot. There are no tabs general settings, external settings, etc. and there is no section for network interfaces. Please tell me what I am doing wrong.
struggling trying to connect to network, wireless or wired. These are my devices, 03:00.0 Network controller: Qualcomm Atheros AR9485 Wireless Network Adapter (rev 01)
04:00.0 Unassigned class [ff00]: Realtek Semiconductor Co., Ltd. RTL8411 PCI Express Card Reader (rev 01)
04:00.2 Ethernet controller: Realtek Semiconductor Co., Ltd. RTL8111/8168/8411 PCI Express Gigabit Ethernet Controller (rev 0a)
As I said before, when I use the wicd preferences there is nowhere to put the device id like in the screenshot you posted. Pls tell me what I am doing wrong. I have booted many linux systems from cd and usb and never have a problem connecting.
Sound disturbing. Have you checked your download with md5sum? Your hardware should work without problems.
Its not a corrupted download. I checked the md5sum and it was good. I am having the same problem with the r8168/r8169 driver in extix. So far nothing has solved it including installing r8168-dkms manually from a flash drive. I also edited the /etc/modprobe.d/r8168-dkms.conf to remove the blacklist and blacklist r8169. Something is broken.